
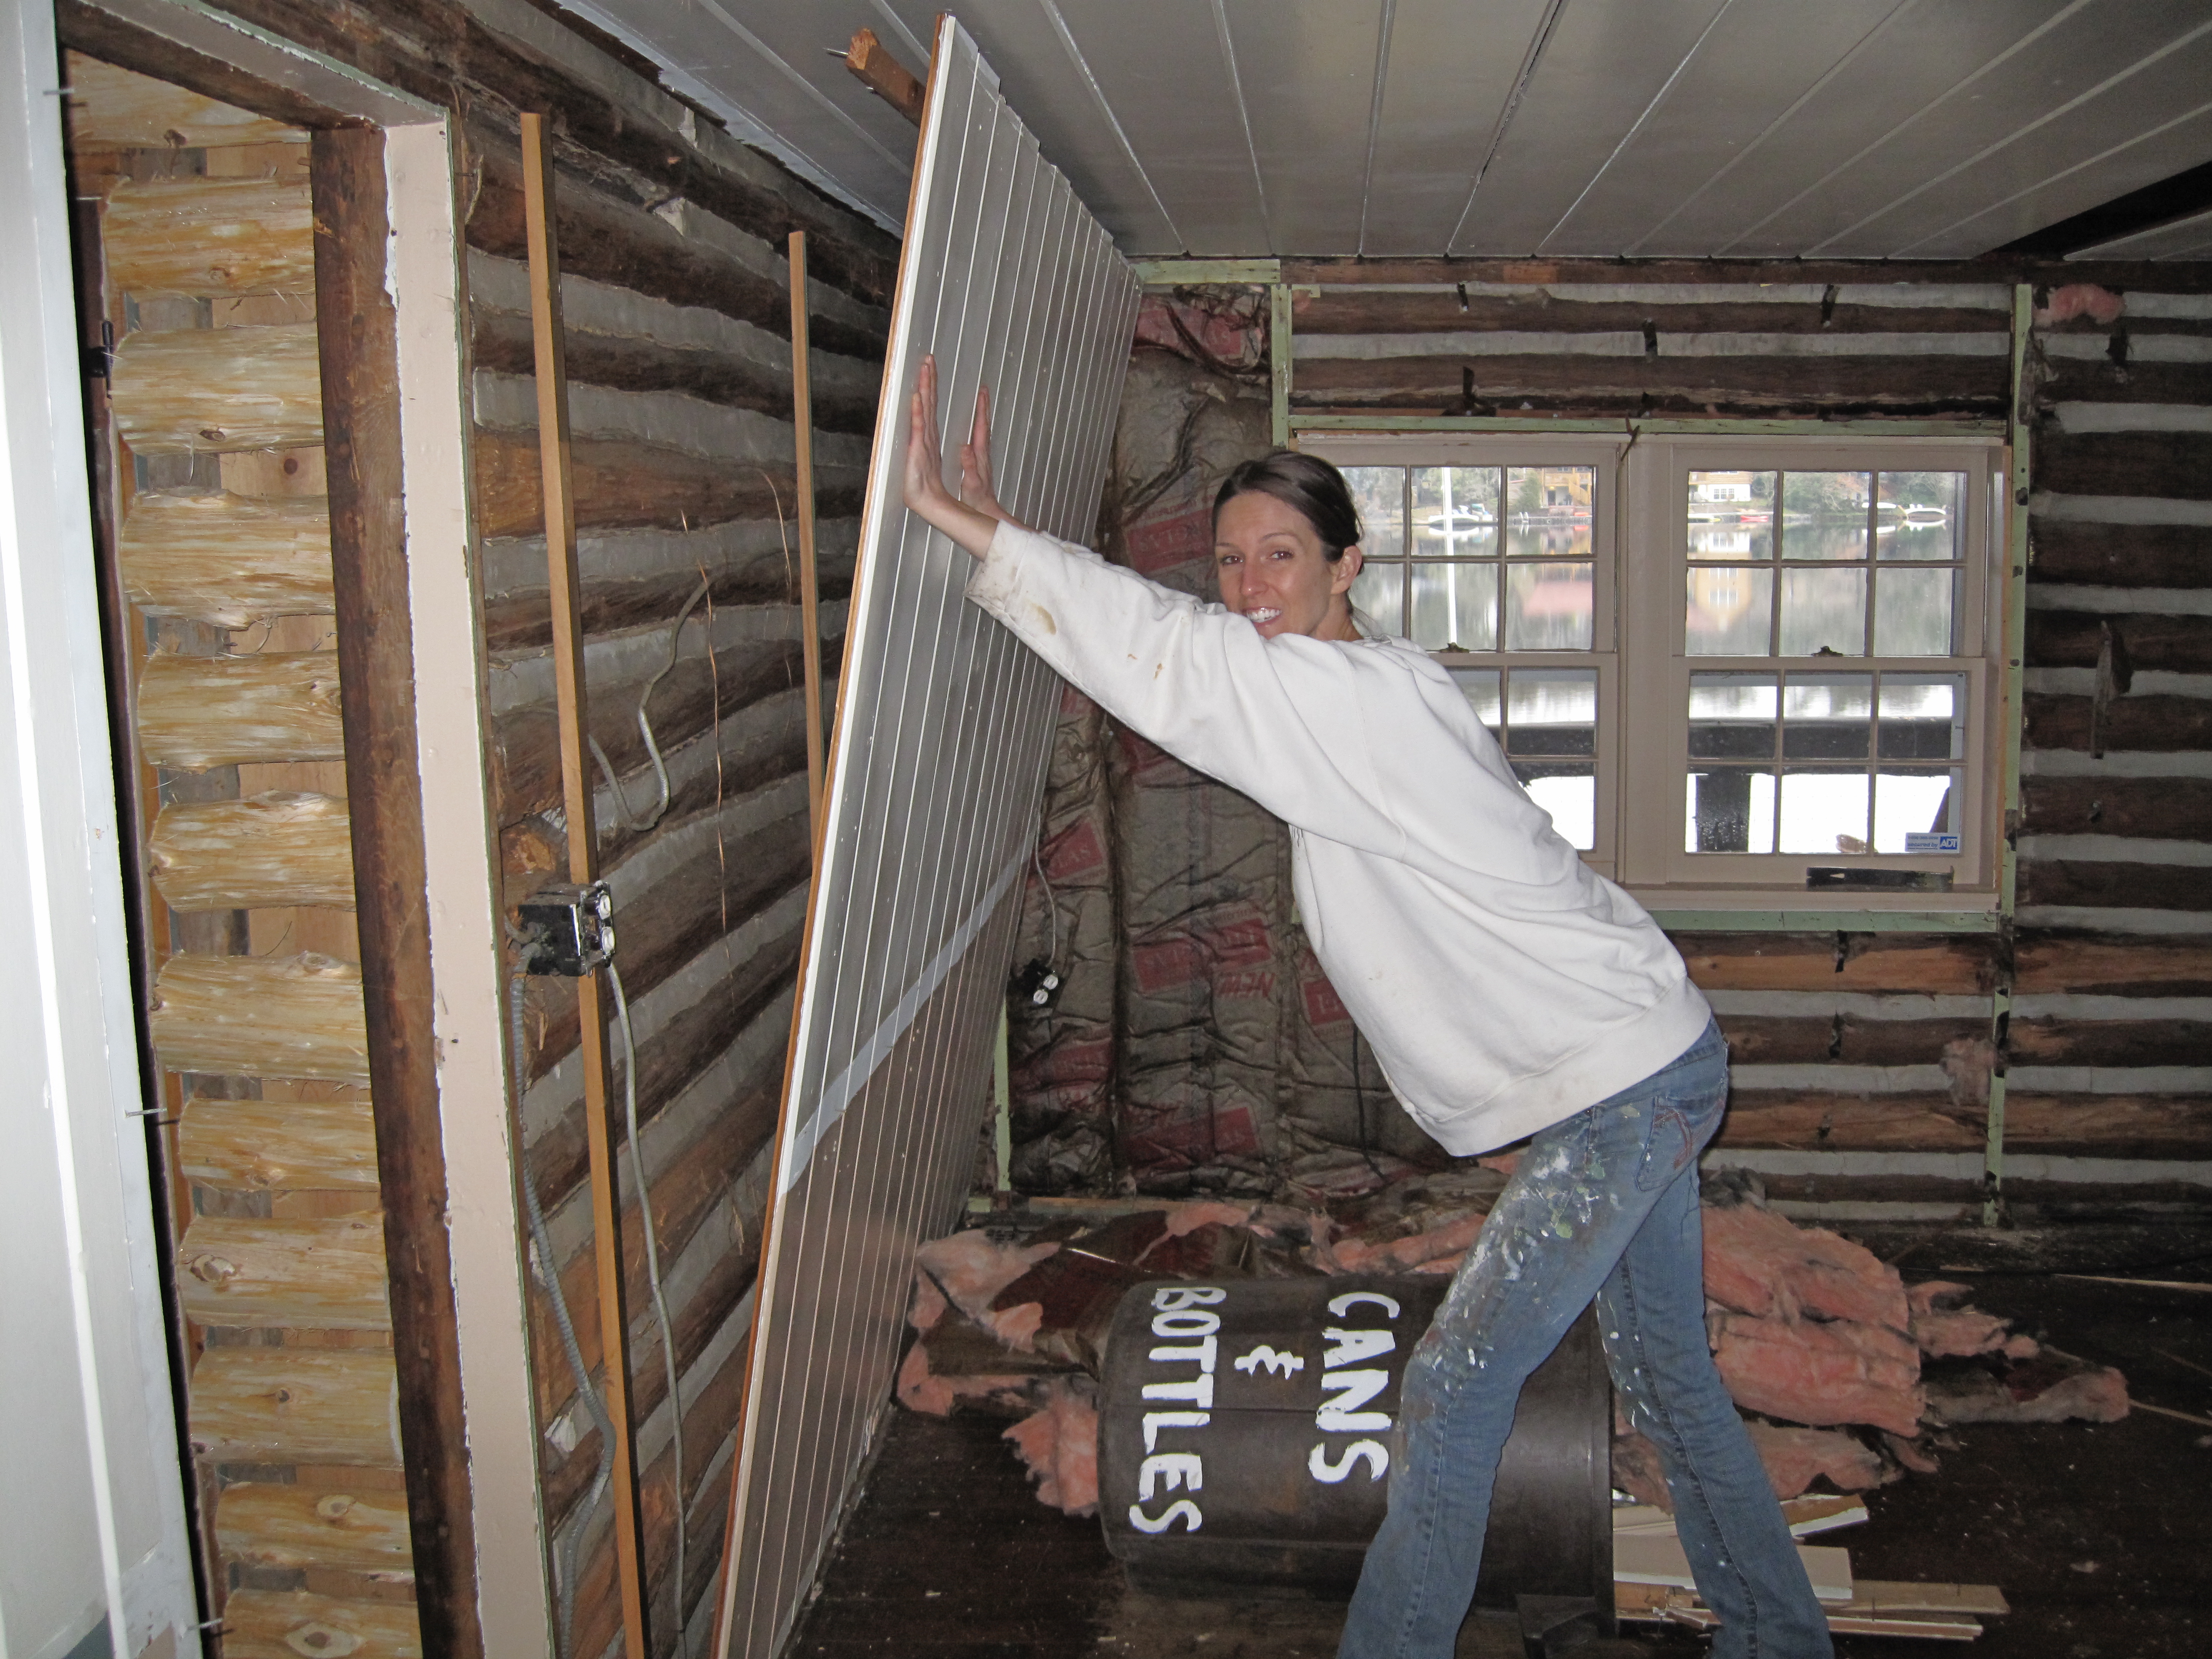
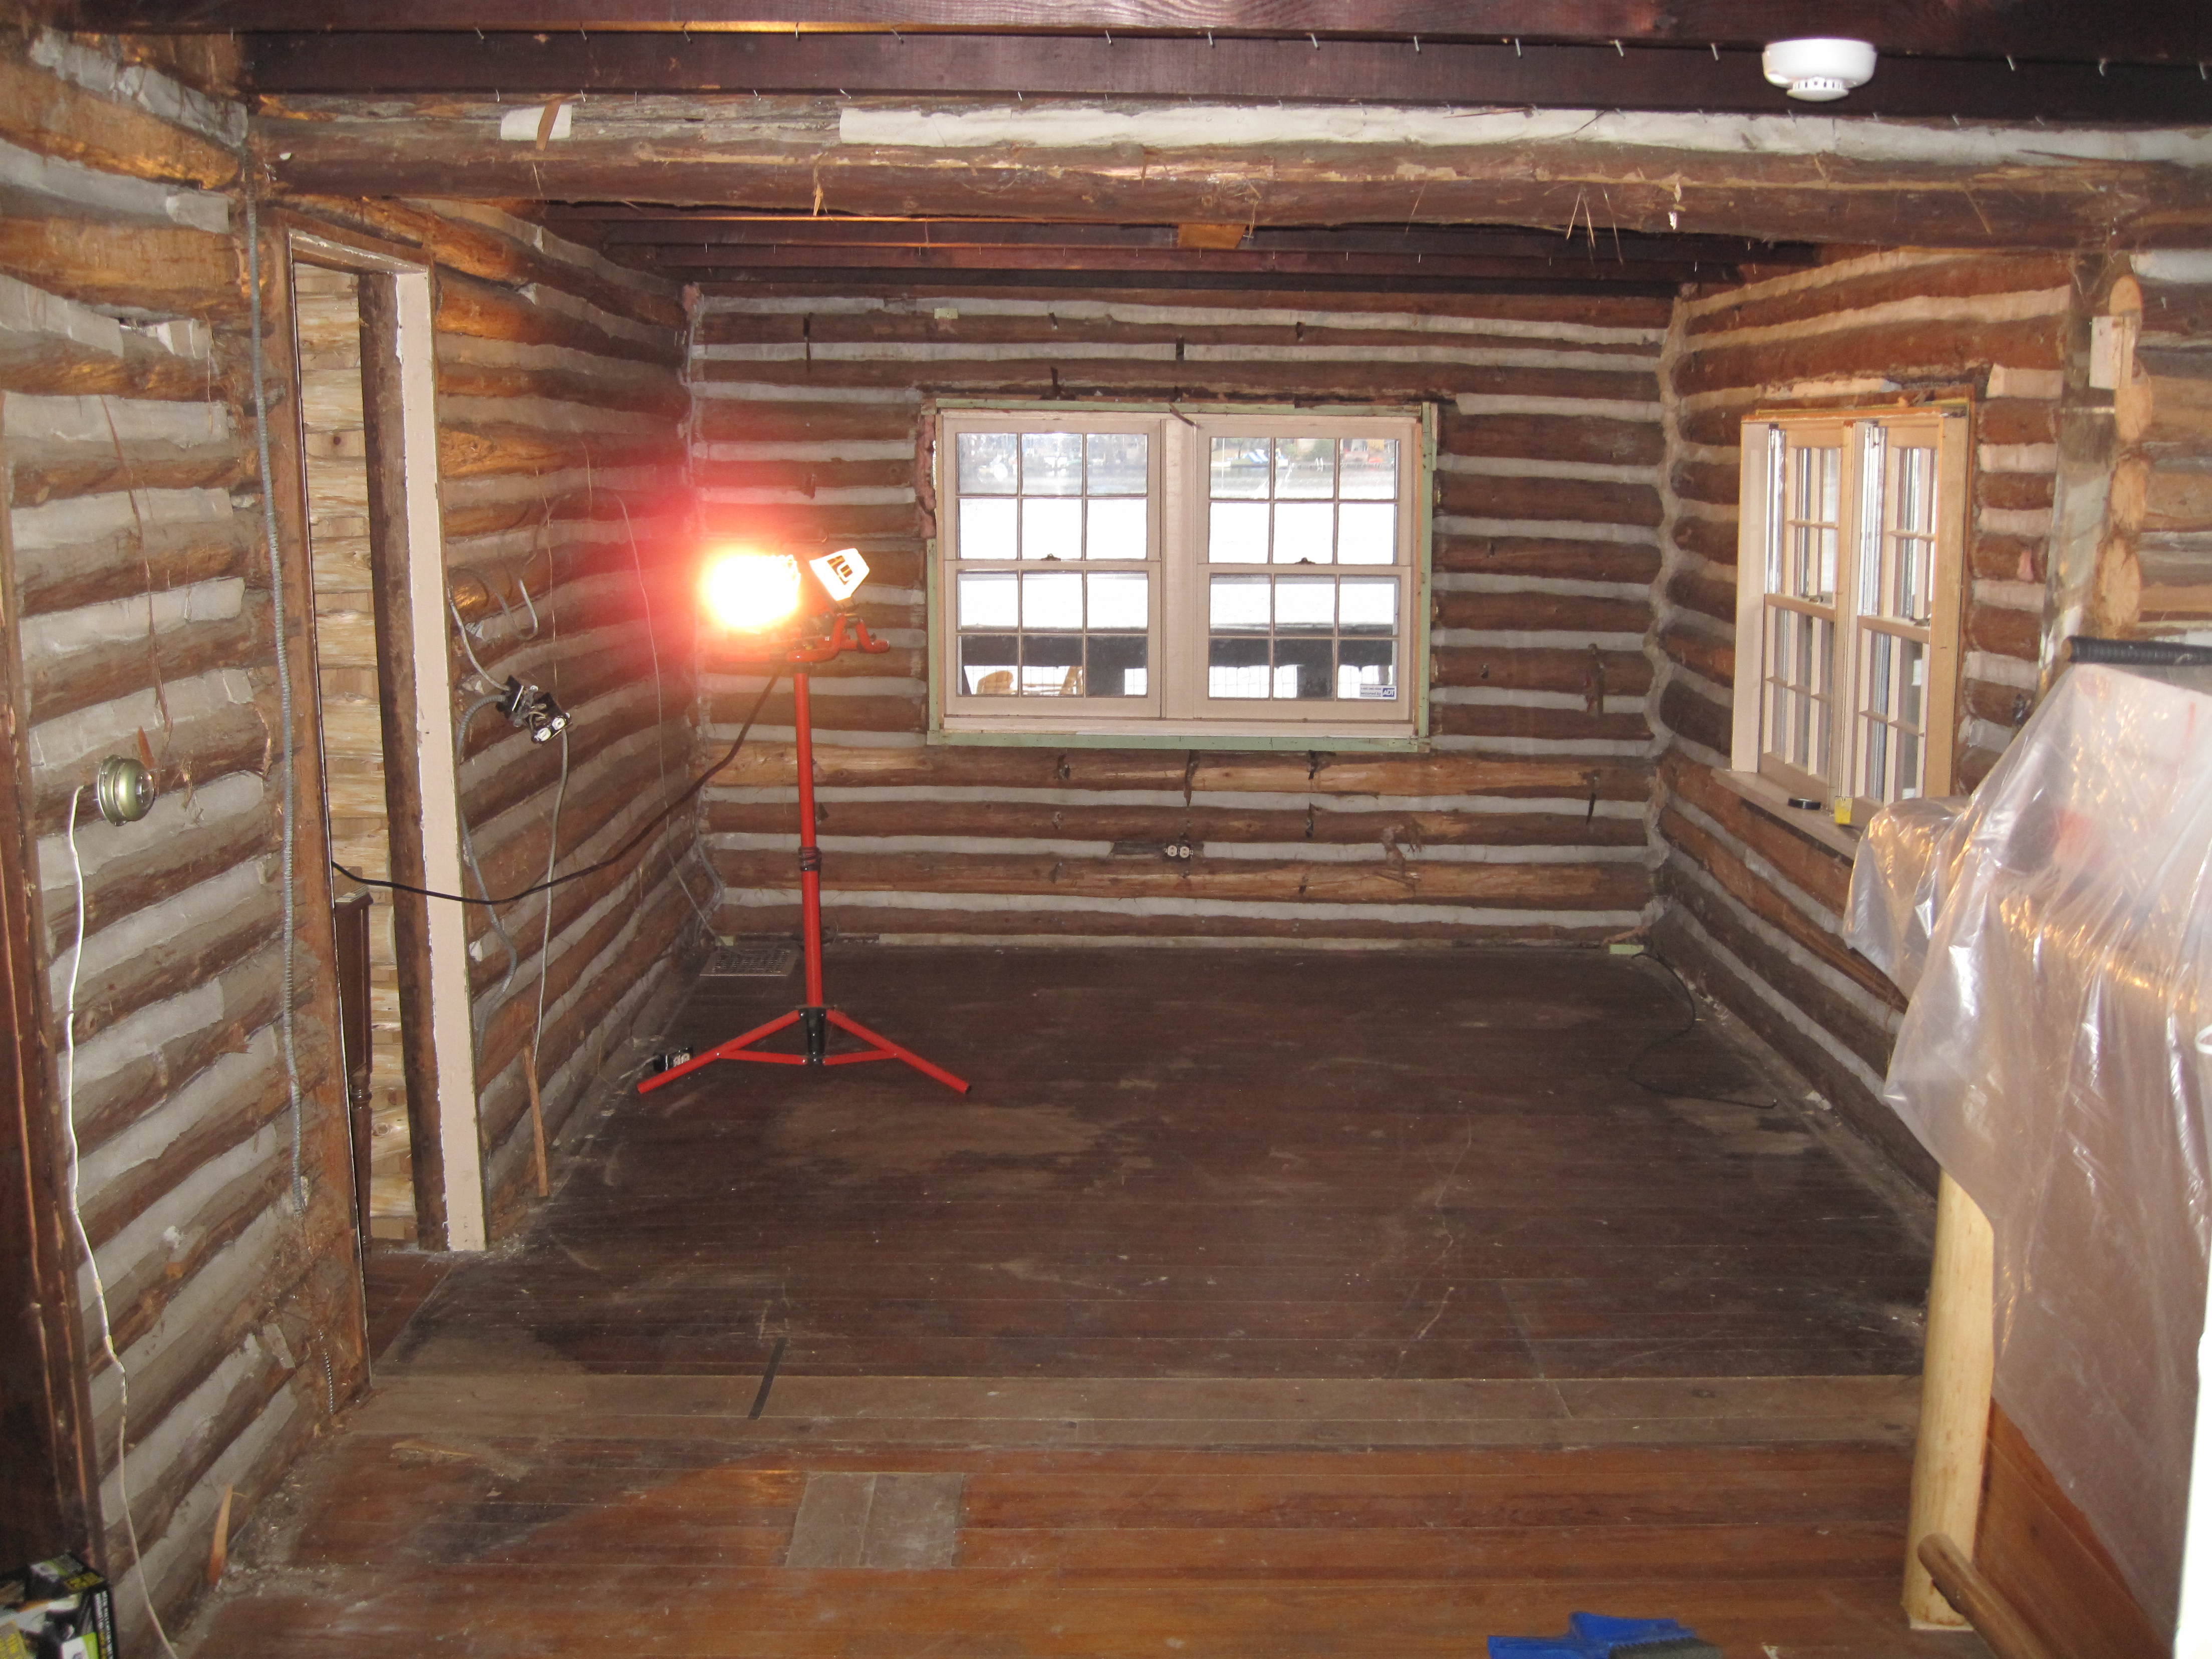
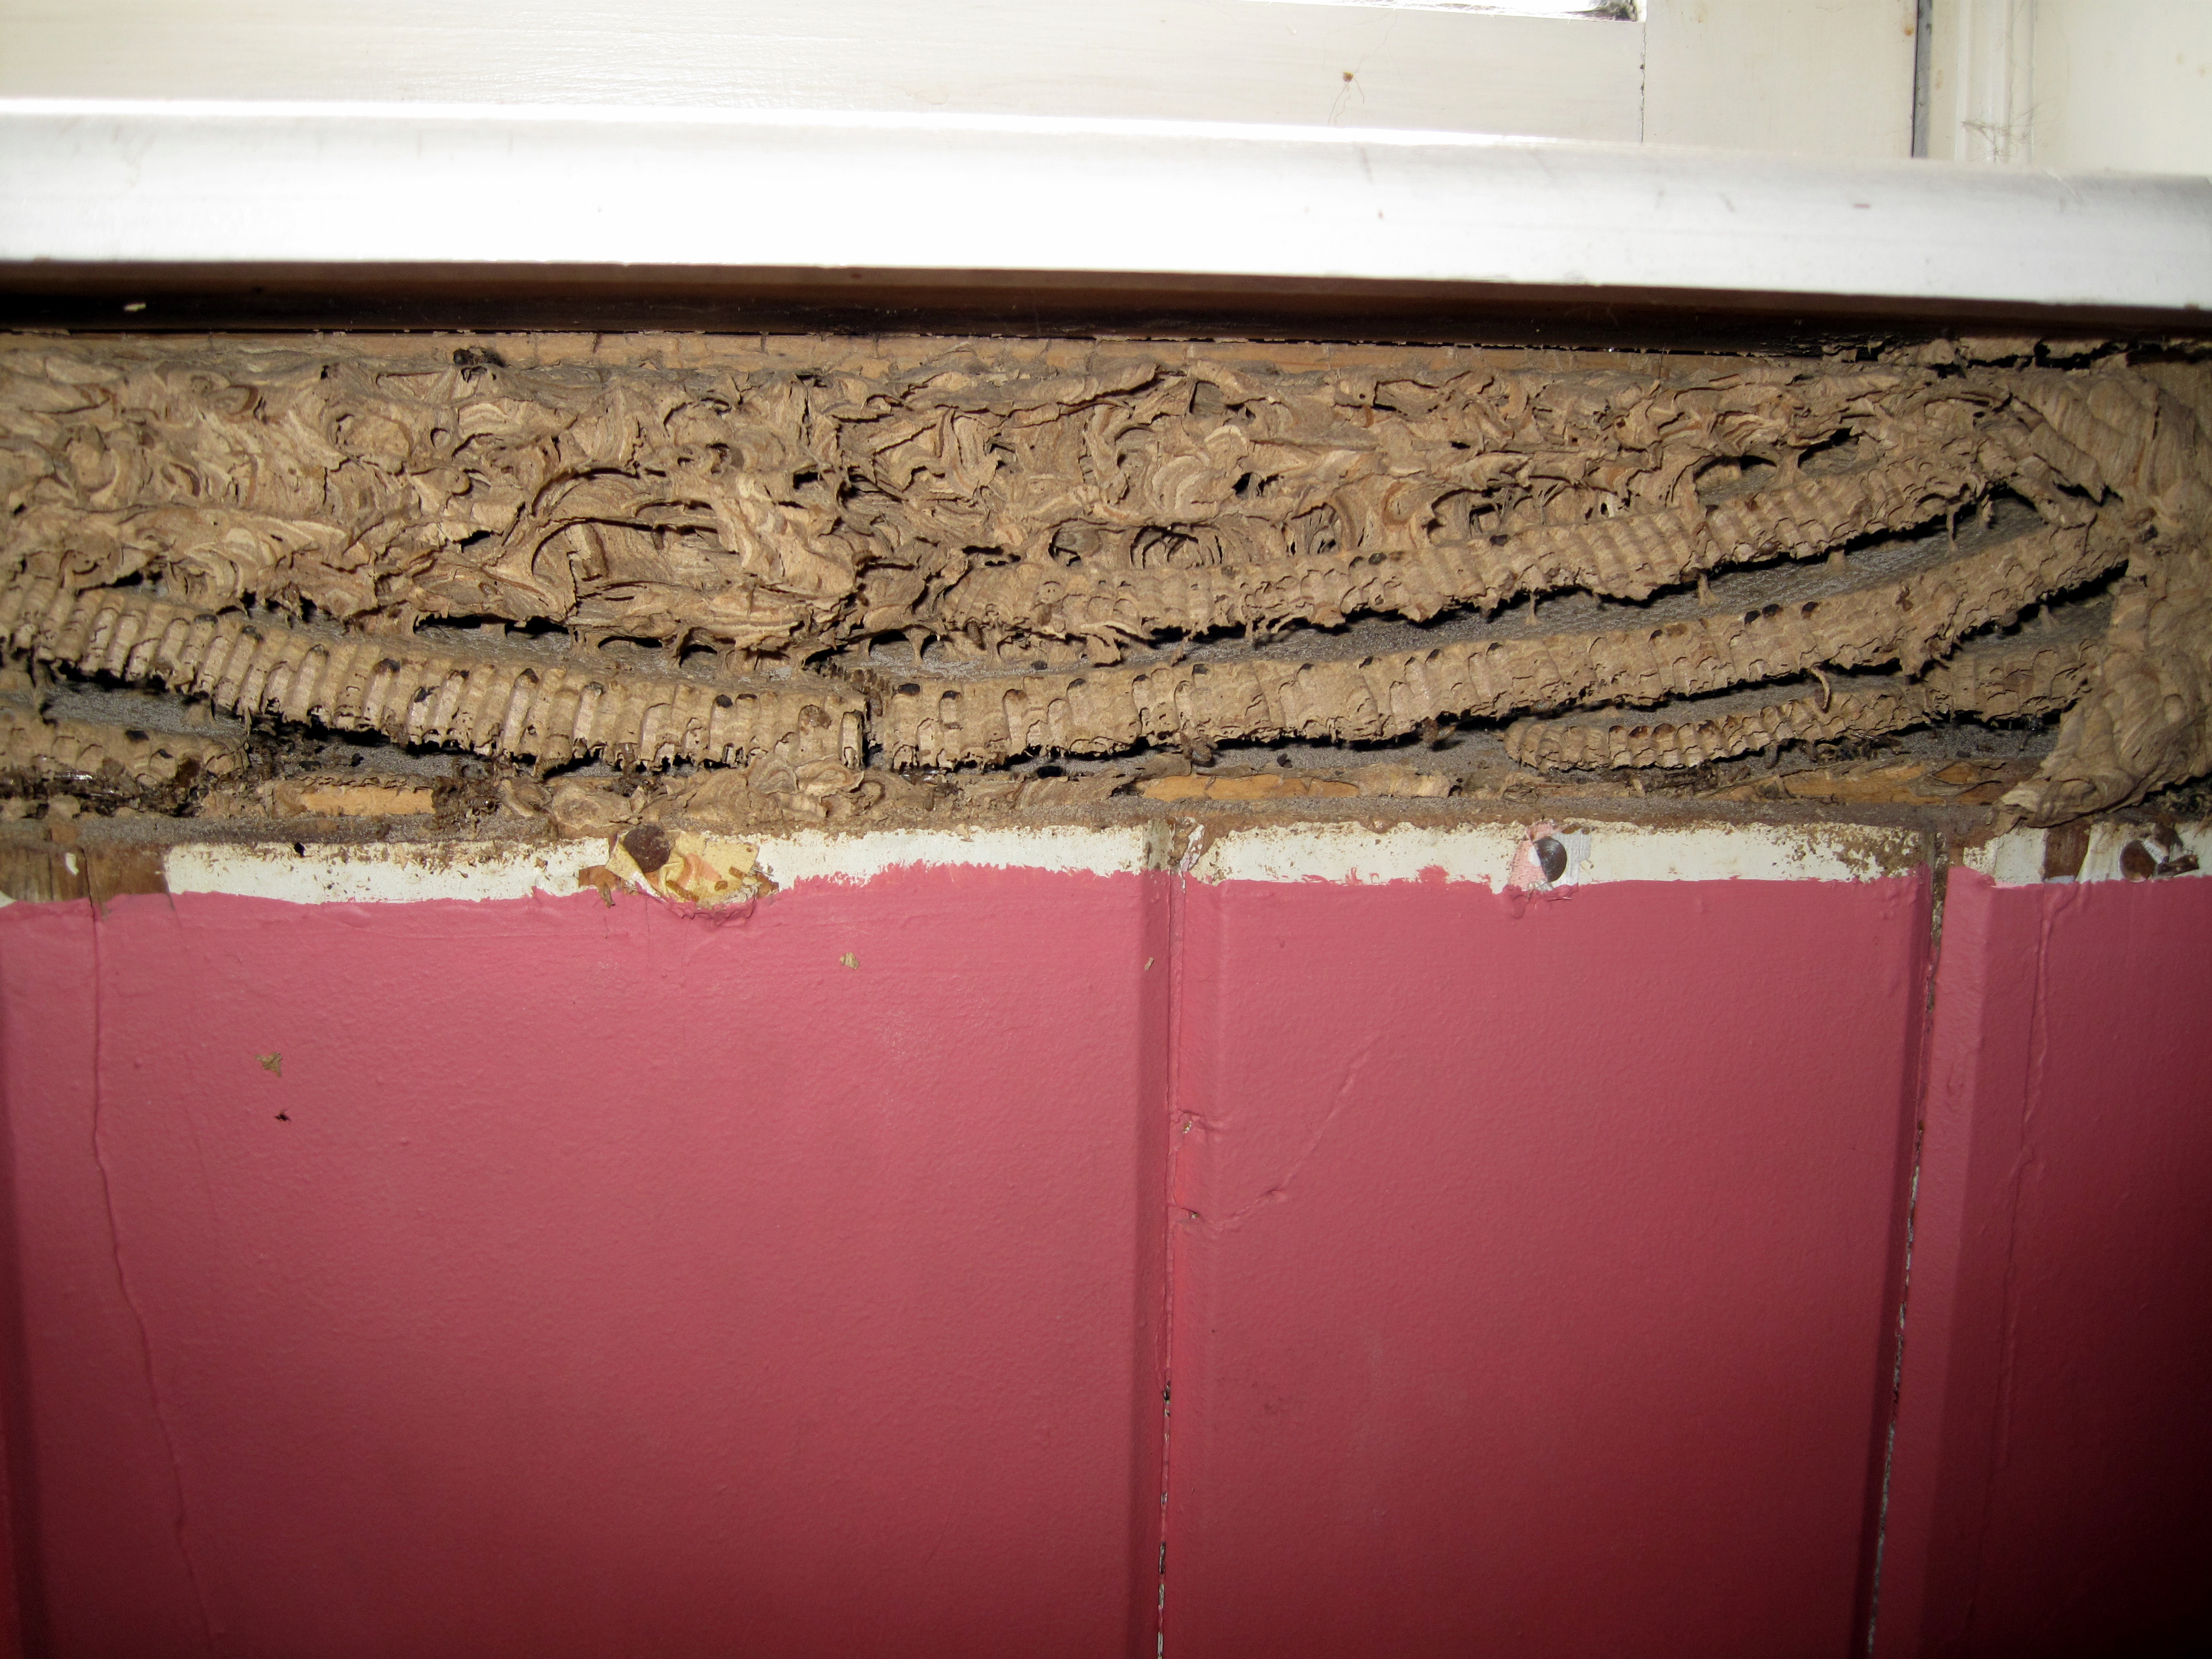
Yes, that is “Good & Plenty” pink-and-white paneling in the powder room! This powder room is actually a closet that someone converted to a (very!) small bathroom! the previous owners covered all the logs with paneling. This is how the room (closet!) looked when we bough the cabin in 2009.


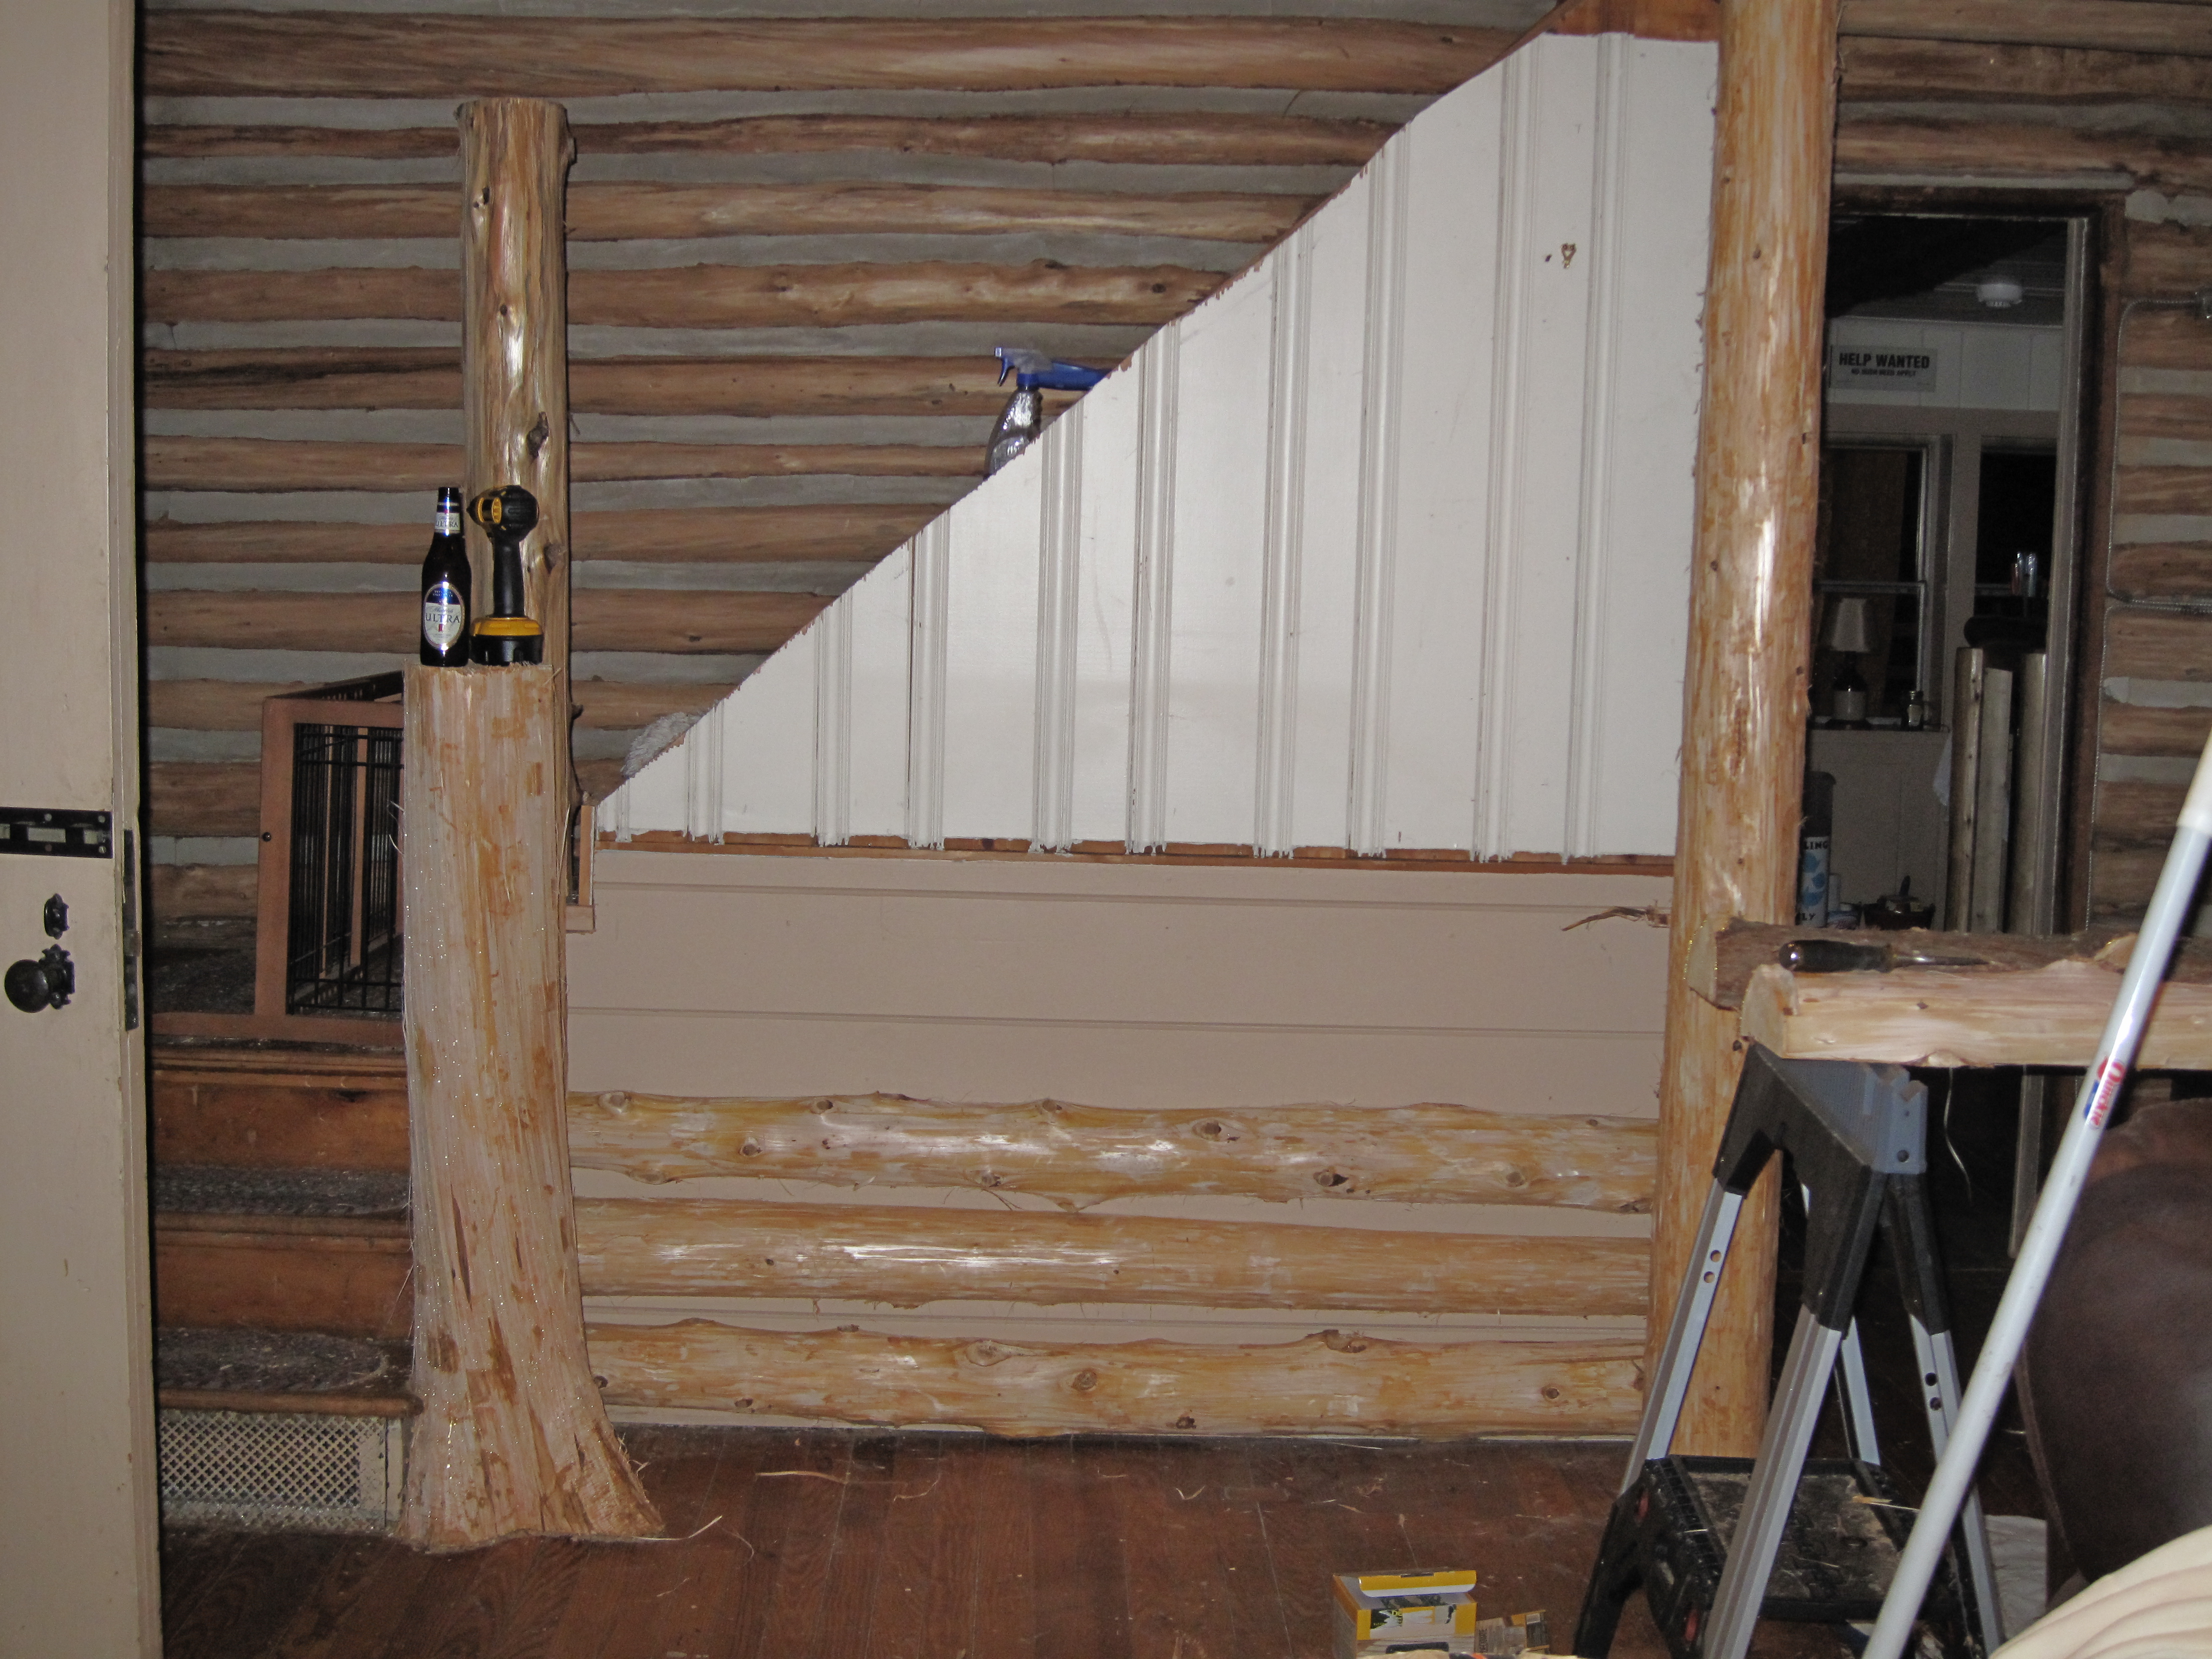
February 2010: Ripping out the paneling to expose the logs
In February 2010, Brian asked me what I wanted for Valentines Day… I told him I wanted the Good & Plenty GONE! … so on February 14, 2010, we began the first phase of the upstairs powder room!
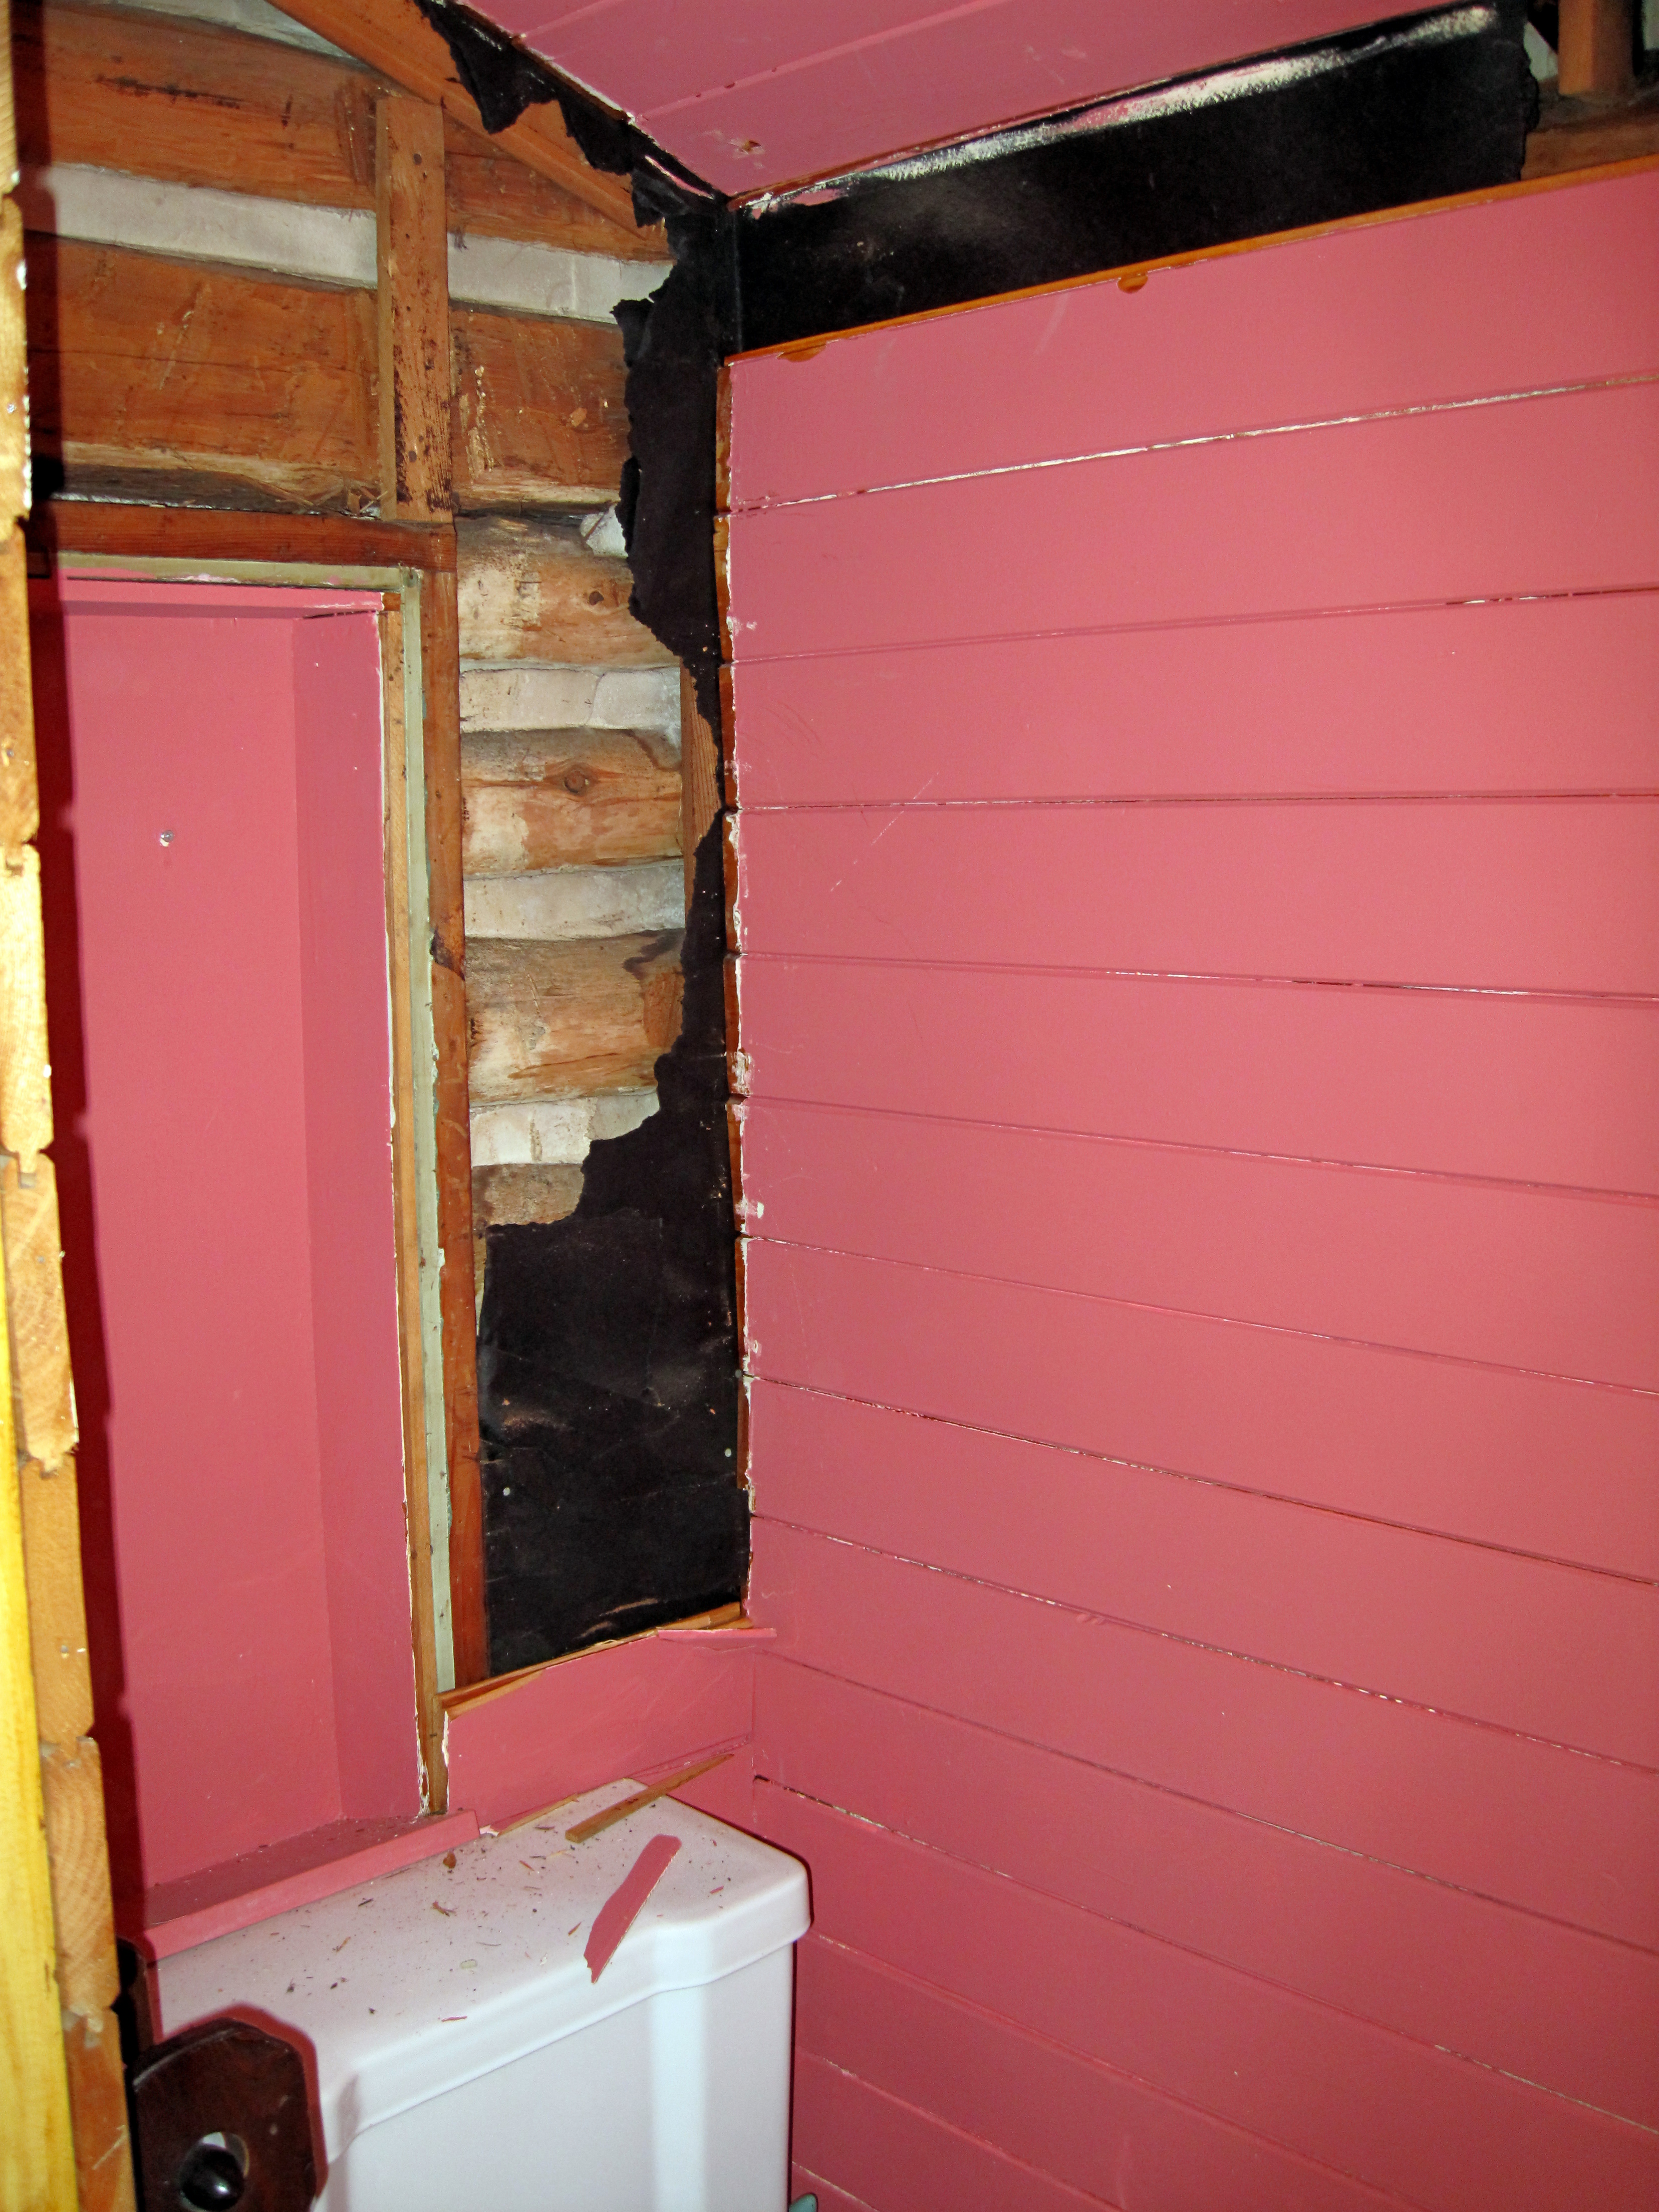


After we ripped the paneling out, Brian installed a new toilet, and I refinished the logs and chinking, and installed a new floor so that we could use this “toilet/sink room” if needed. This is how the powder room remained for 11 years until we could do the next phase. Directly on the other side of that wall behind the toilet is another closet where the previous owners installed a stall shower…crazy, right?!

Stall shower in adjacent closet (gross!):

Ever since we moved in we used the first floor master bathroom as our main bathroom and wondered if there was a way to marry the “shower” closet with the “toilet/sink” closet and somehow make it a functional (and more normal!) bathroom. I had formulated plans in my mind of busting through the wall behind the toilet, and bumping out one of the other walls to allow for a pocket door, but we didn’t know if what I had dreamt-up would even be possible. What Brian and I did know was that this job would be way beyond our capabilities, and we would have to wait until we could seek out the advice of a contractor.
Almost 11 years later, in January 2021, my plan came together. Brian and I were ready to seek out someone to survey the job, and we shared my idea with a friend and local contractor, J.Reynolds Custom Homes and Renovations who said it actually was doable!
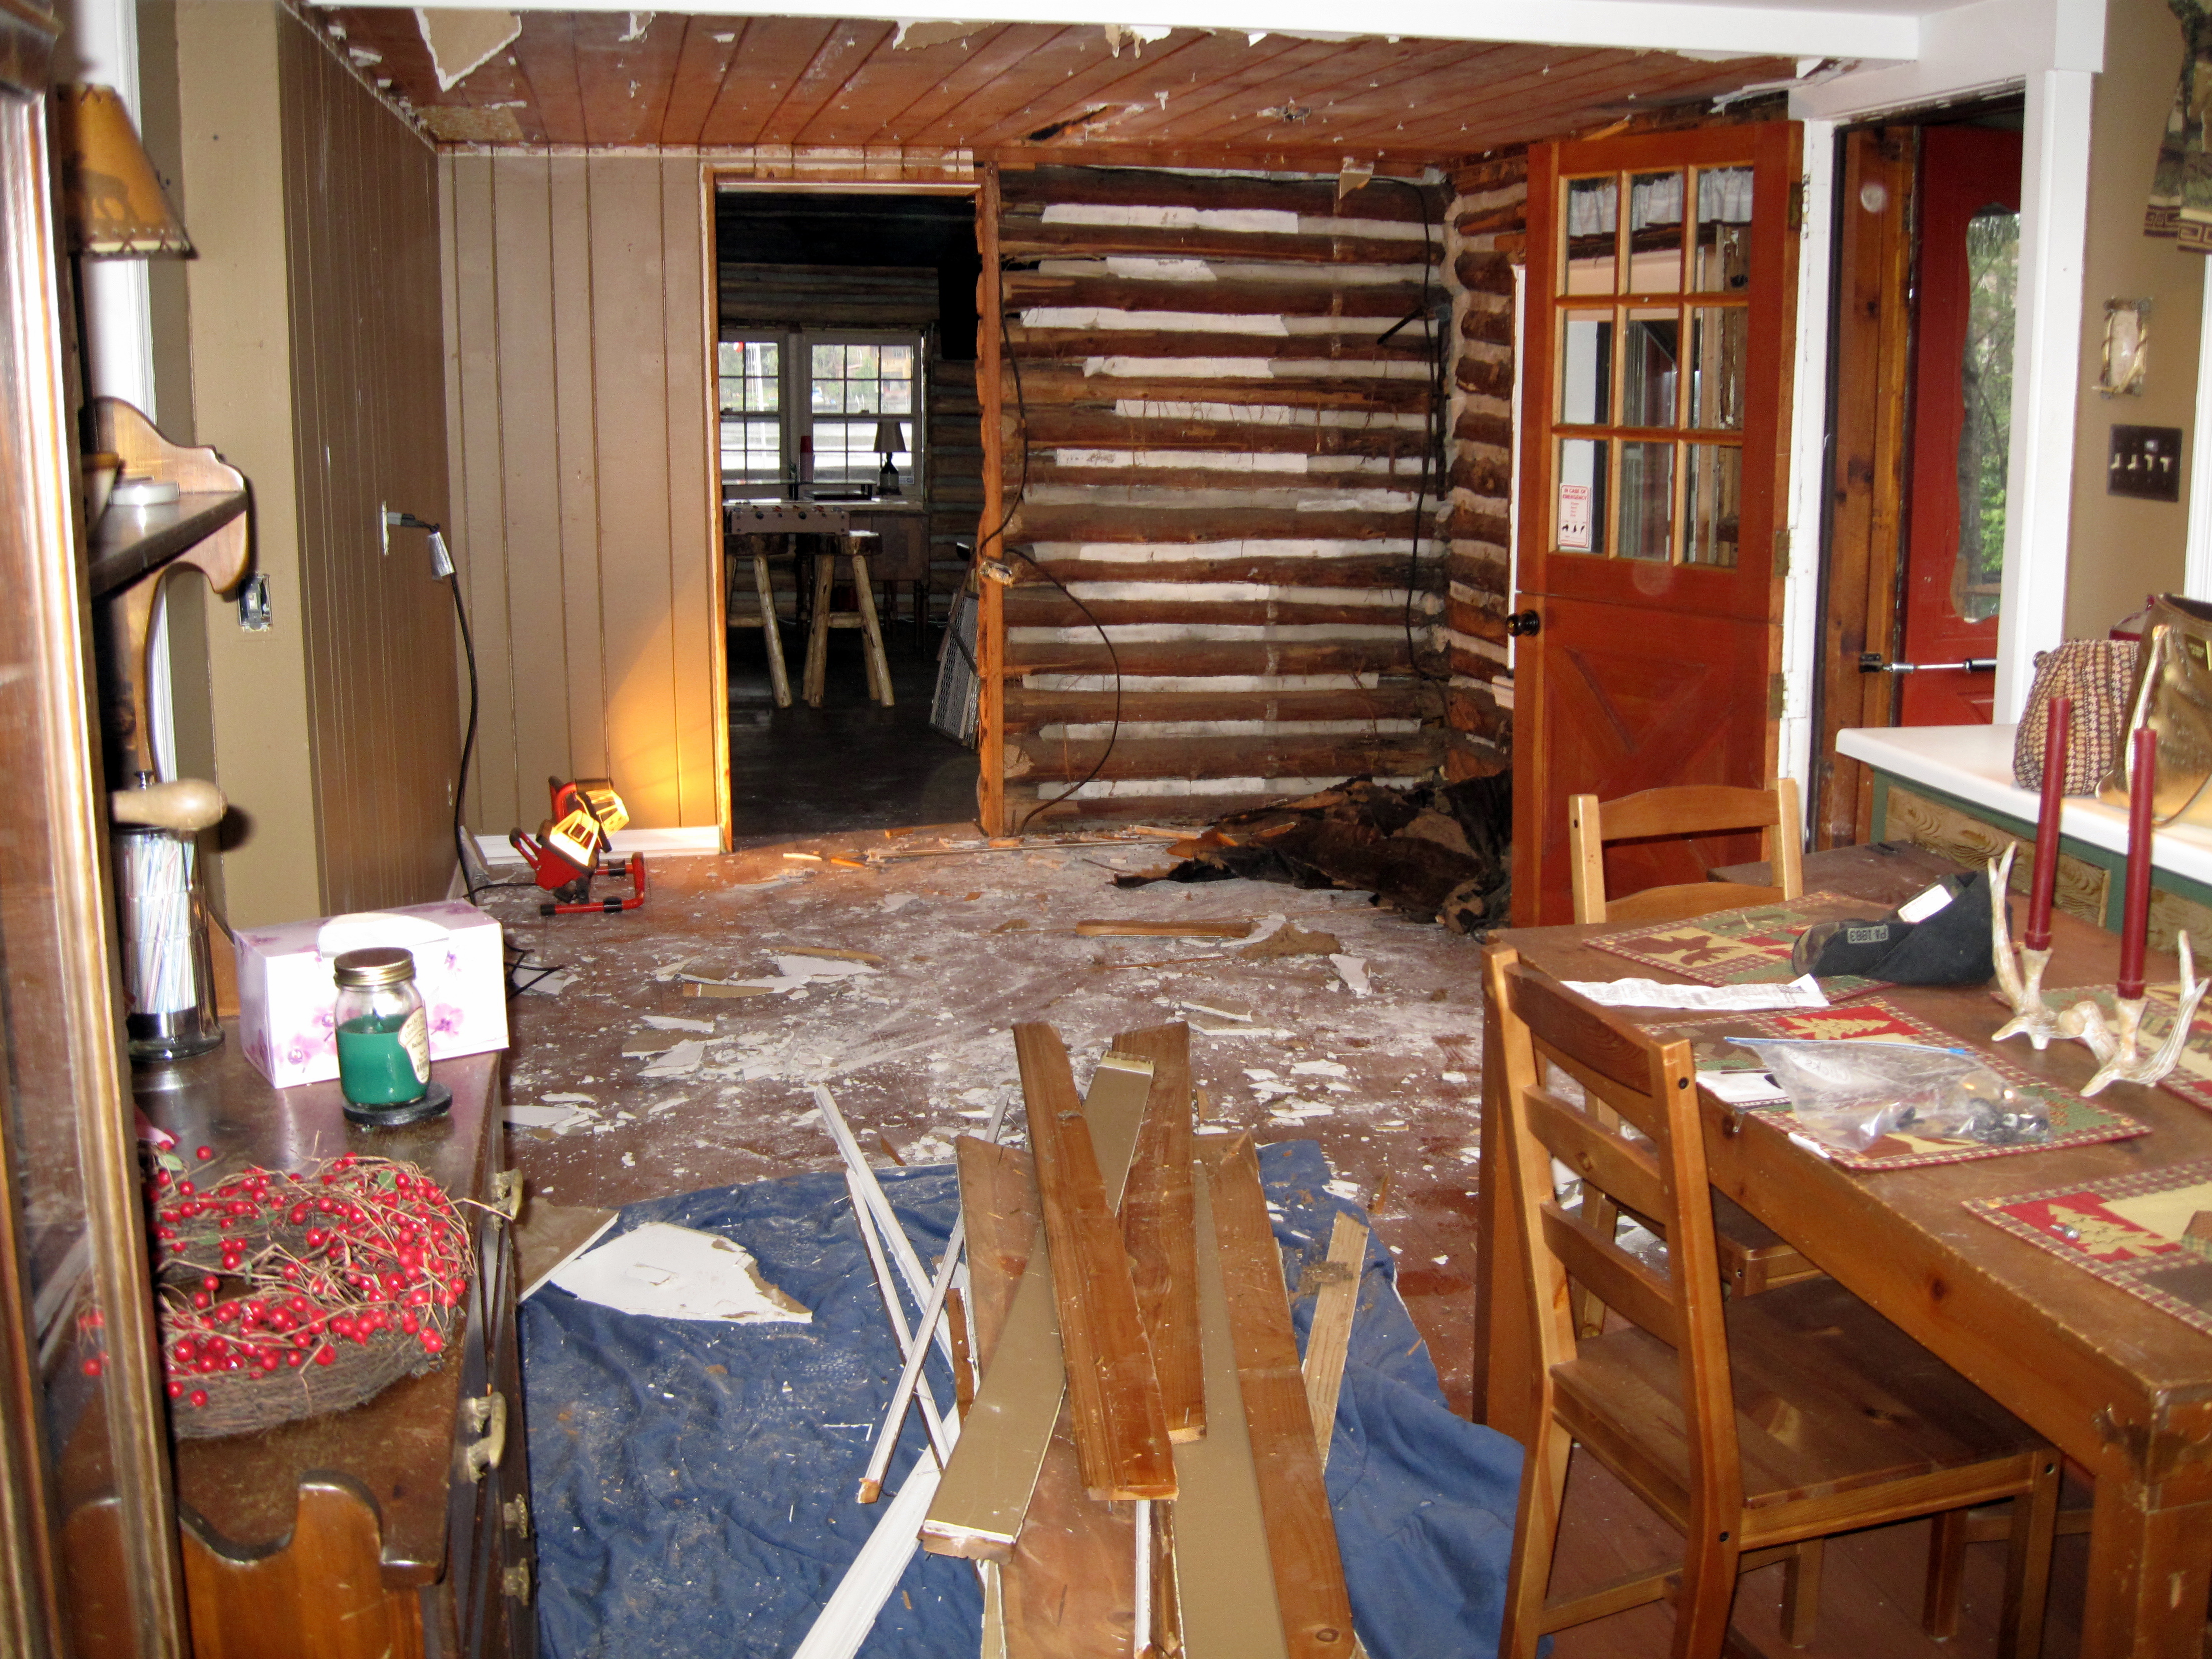
Breaking through the wall to join the 2 closets

Shower closet gutted – looking into the toilet/sink room:

Gutting the adjacent shower closet


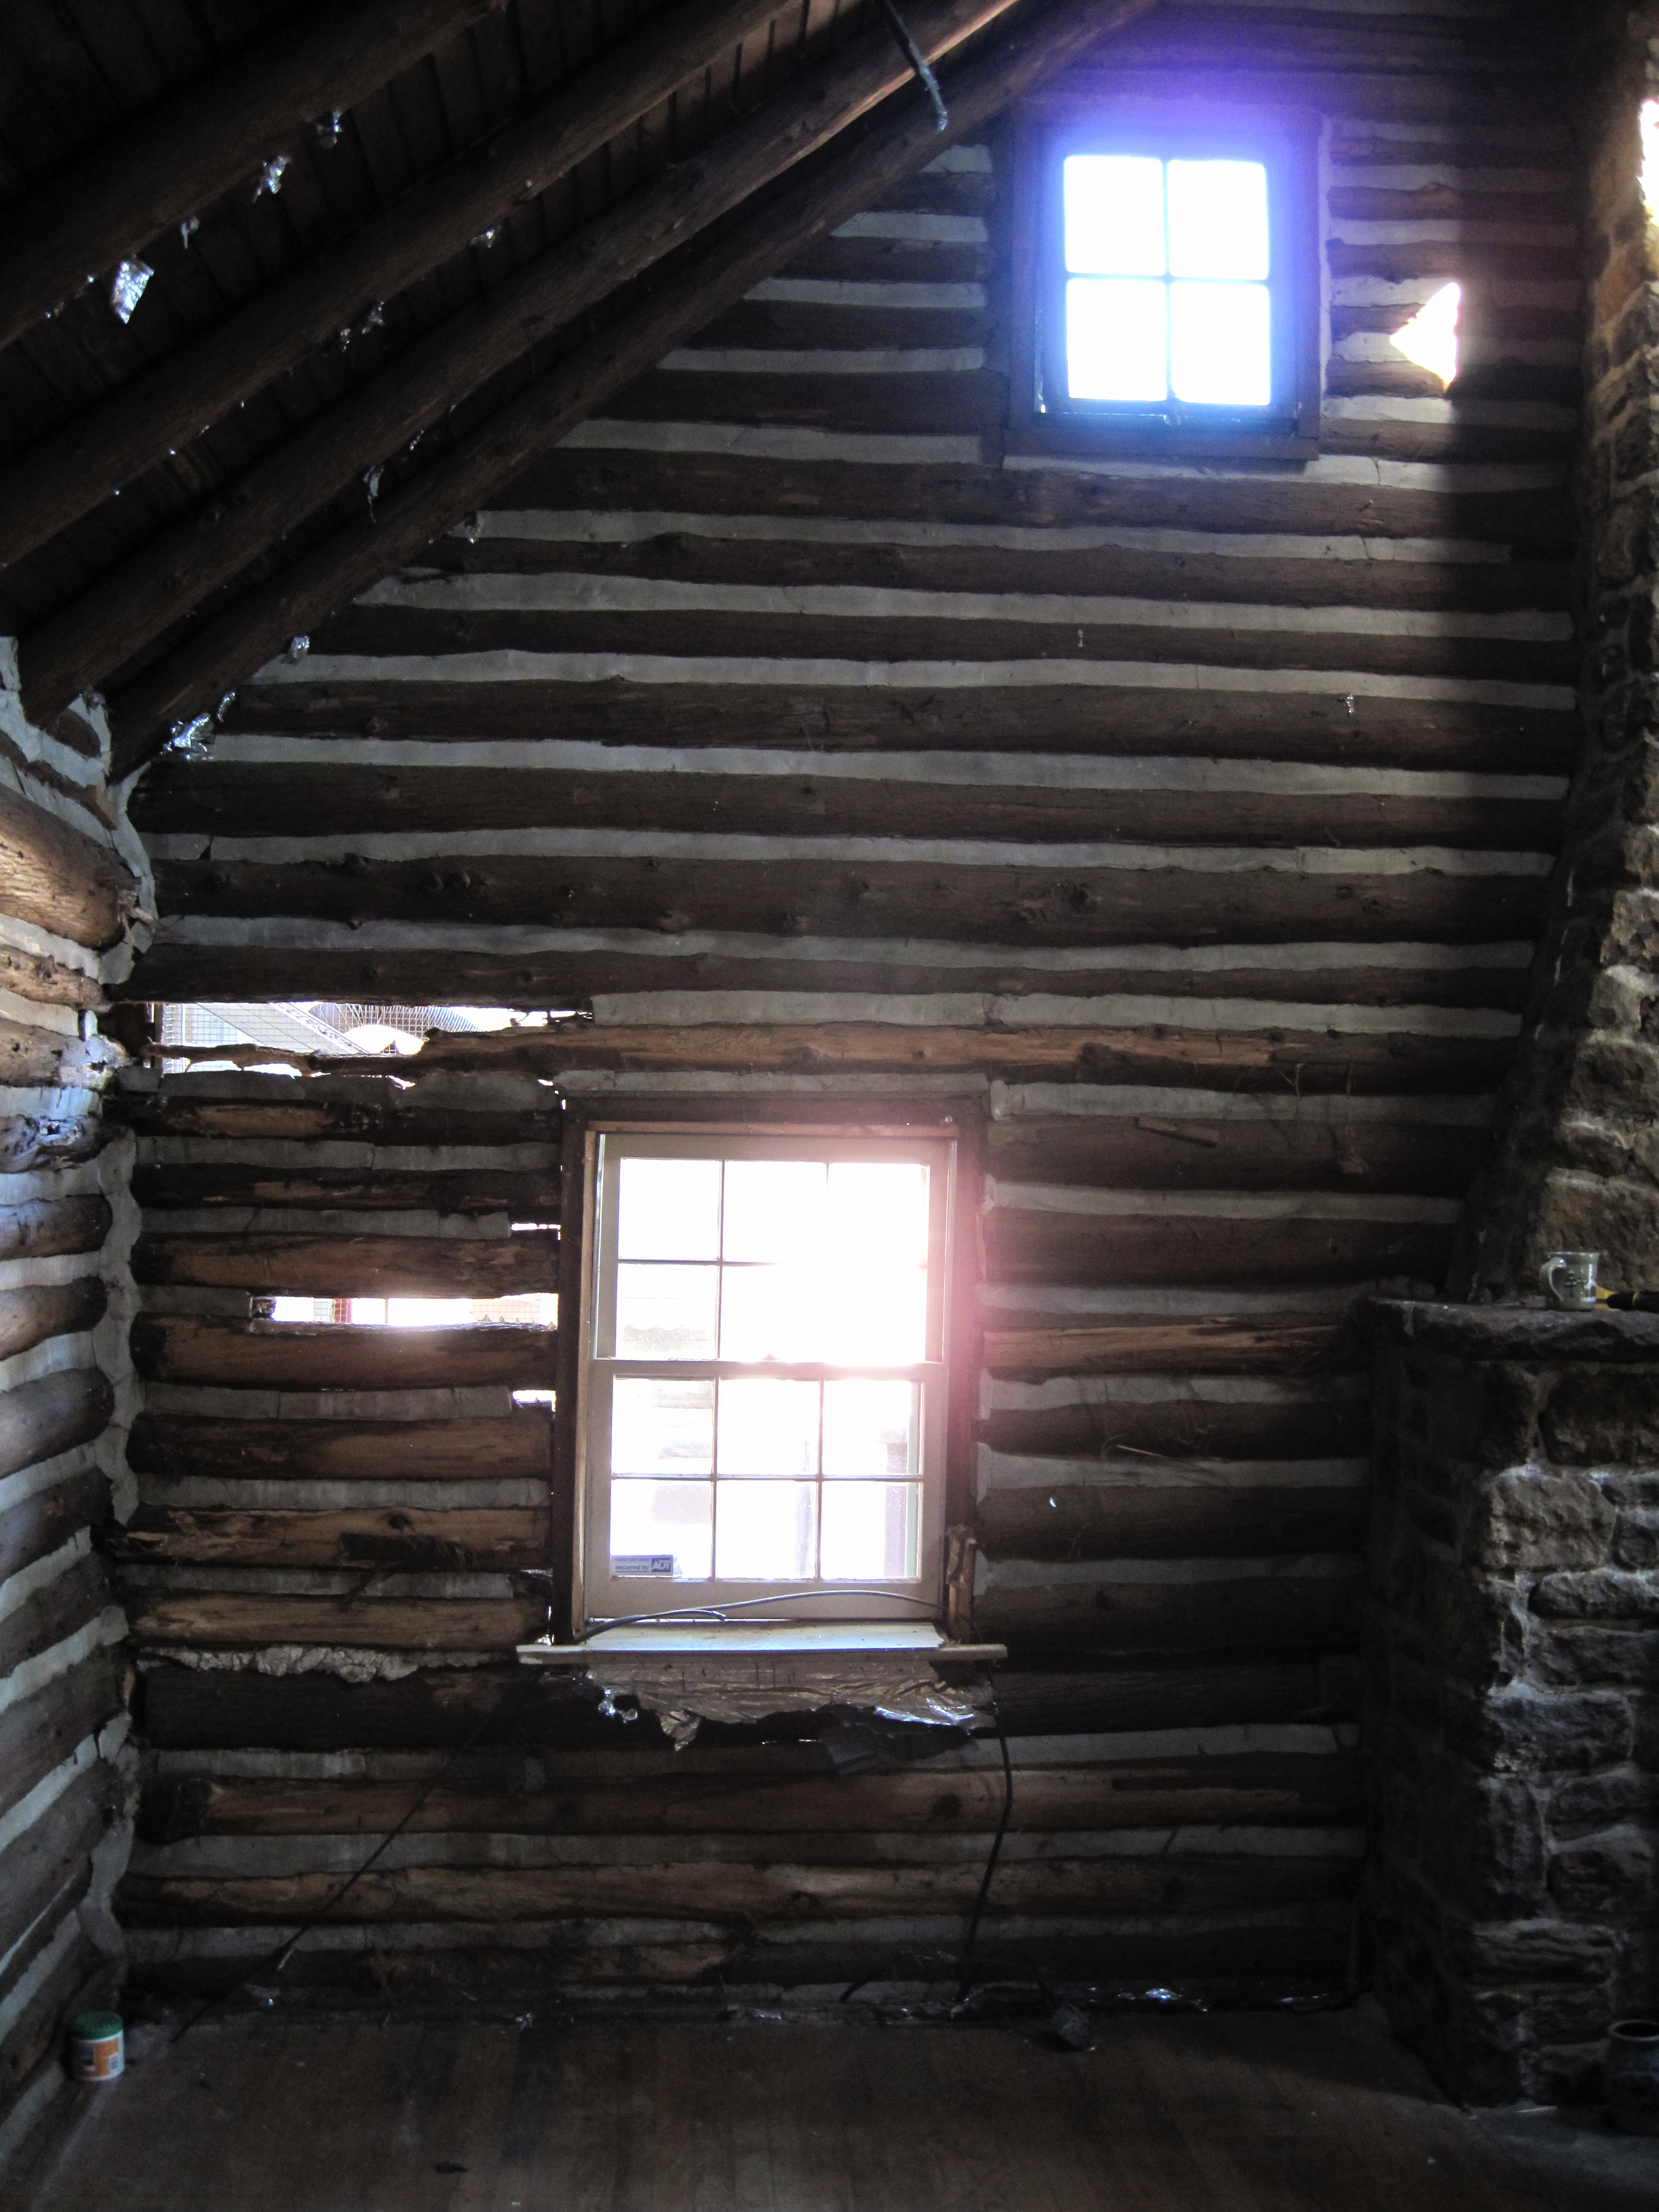
Busting through the original walls to create the new angle of the outer wall

original outer walls of toilet/sink room 
busting out the outer walls 
all walls busted out


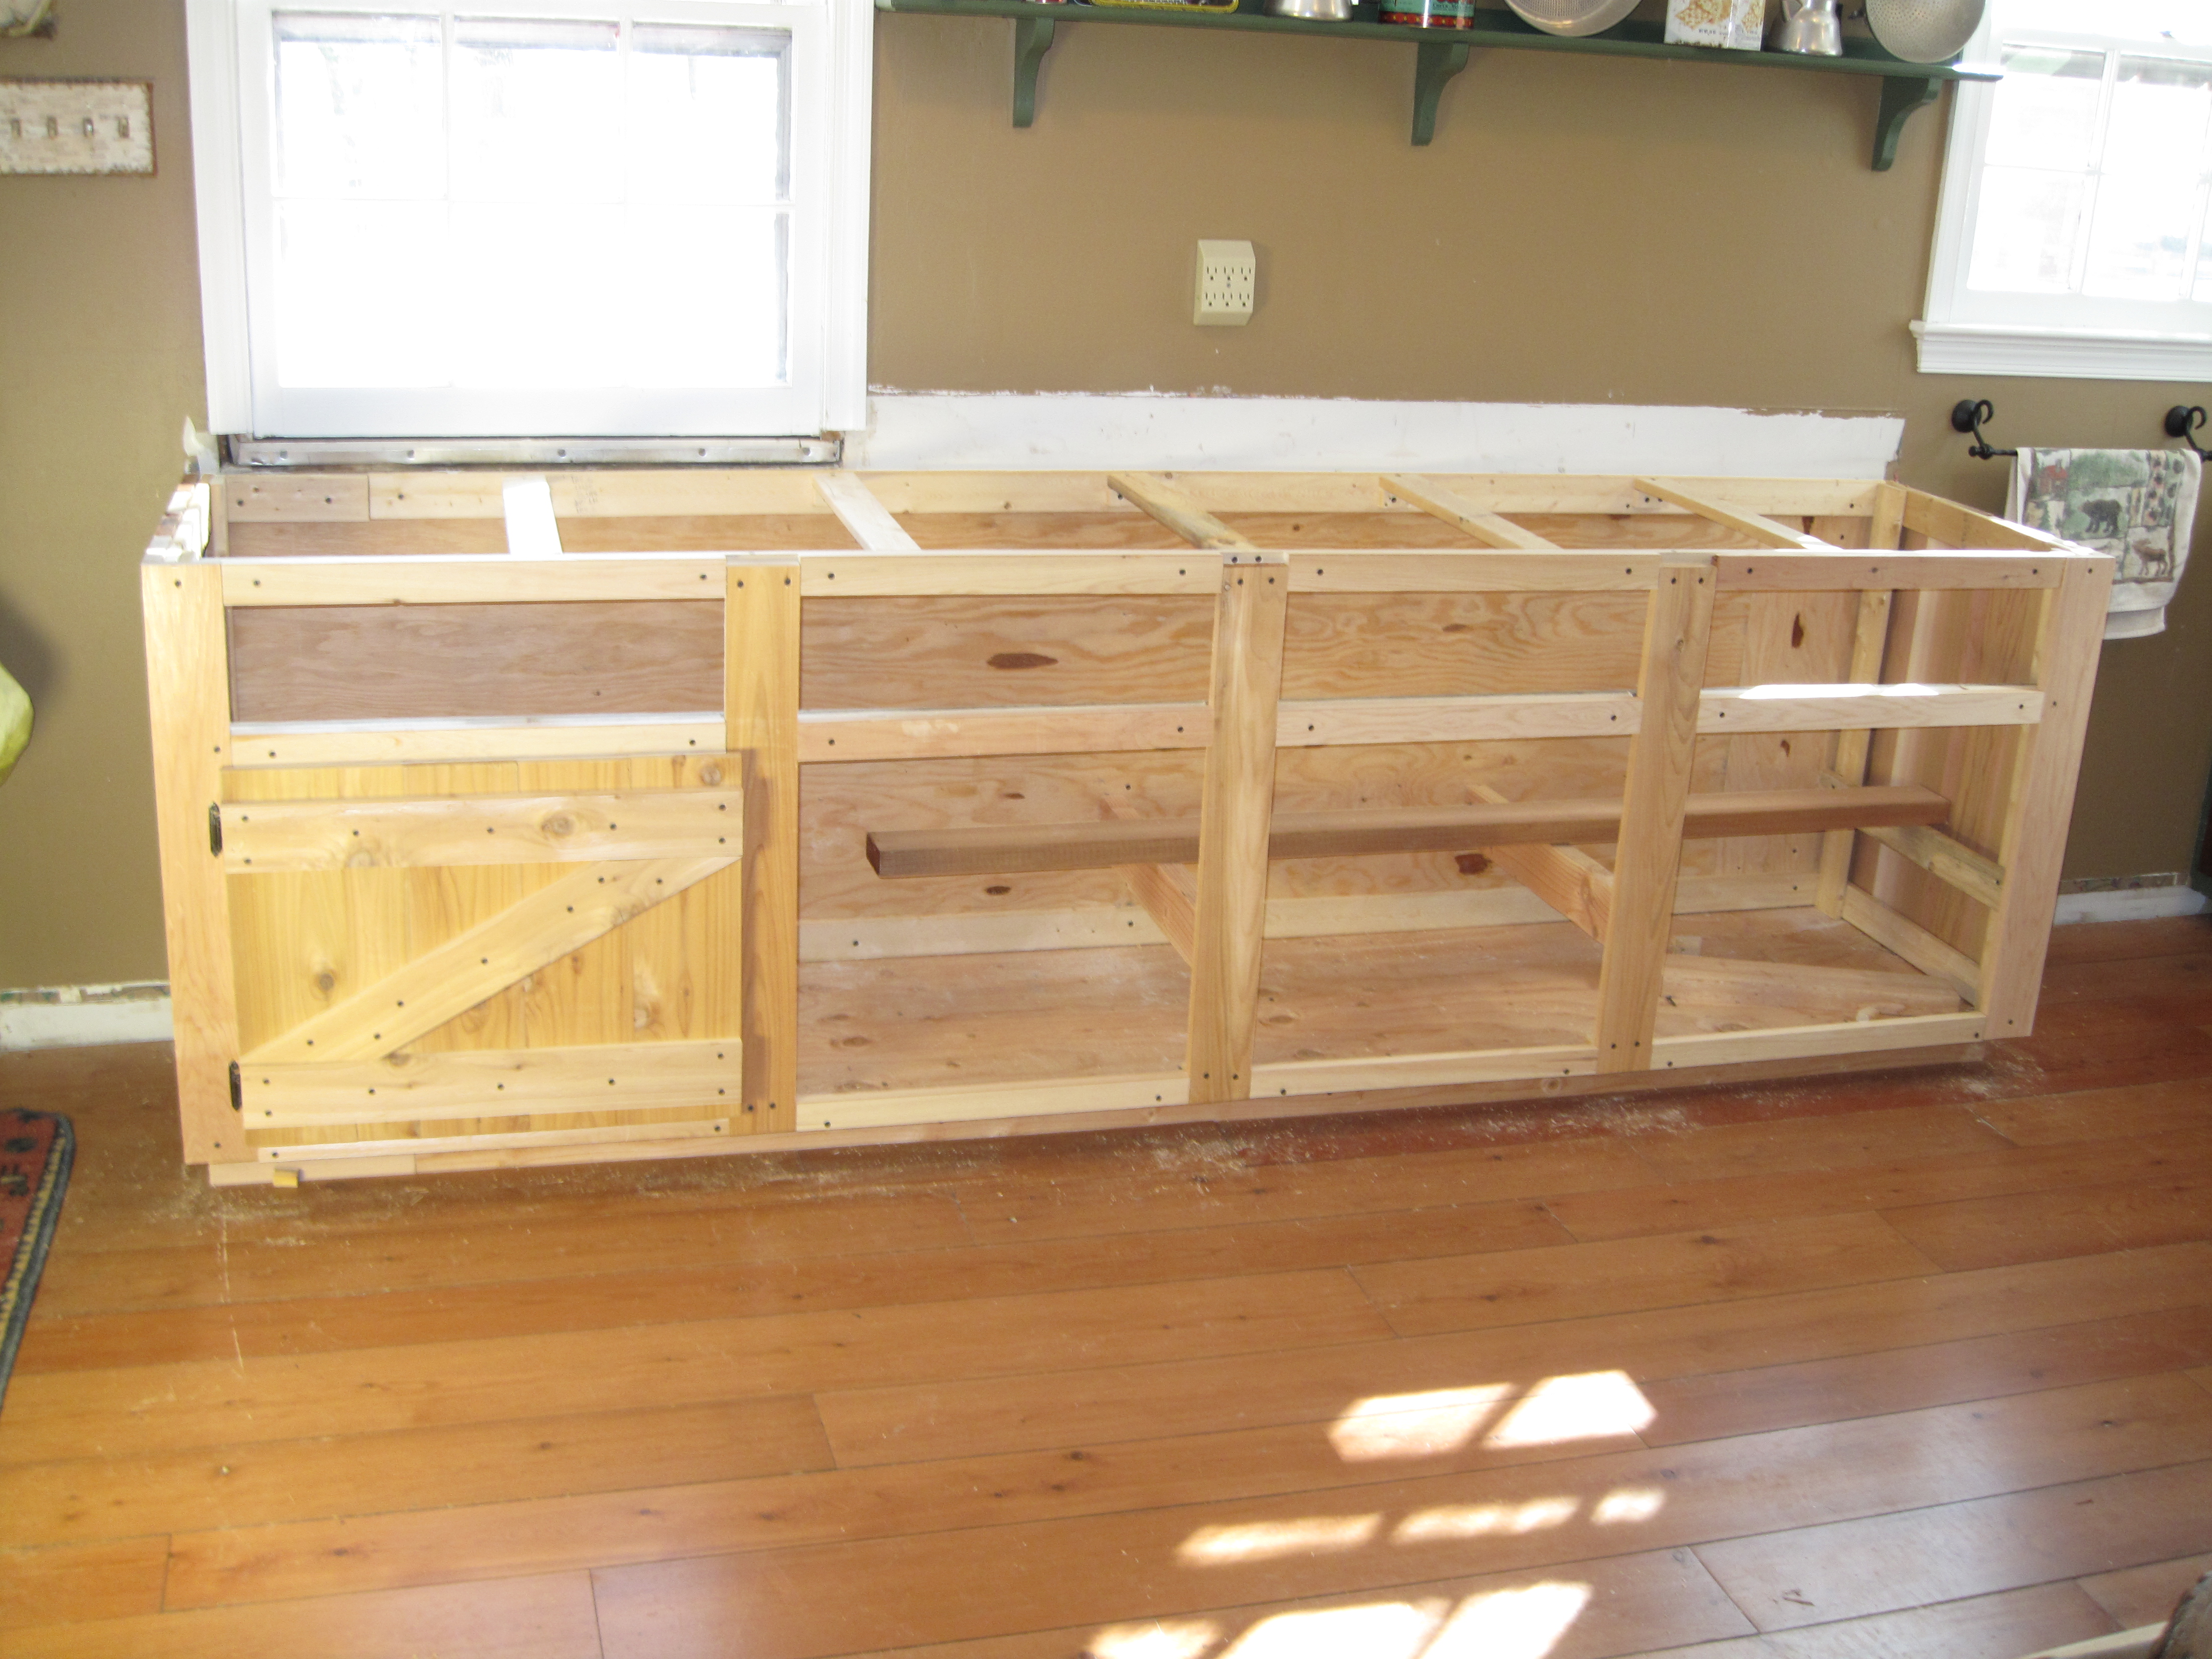
Build-out of the new outer wall

framing the new outer wall 
framing the new outer wall 
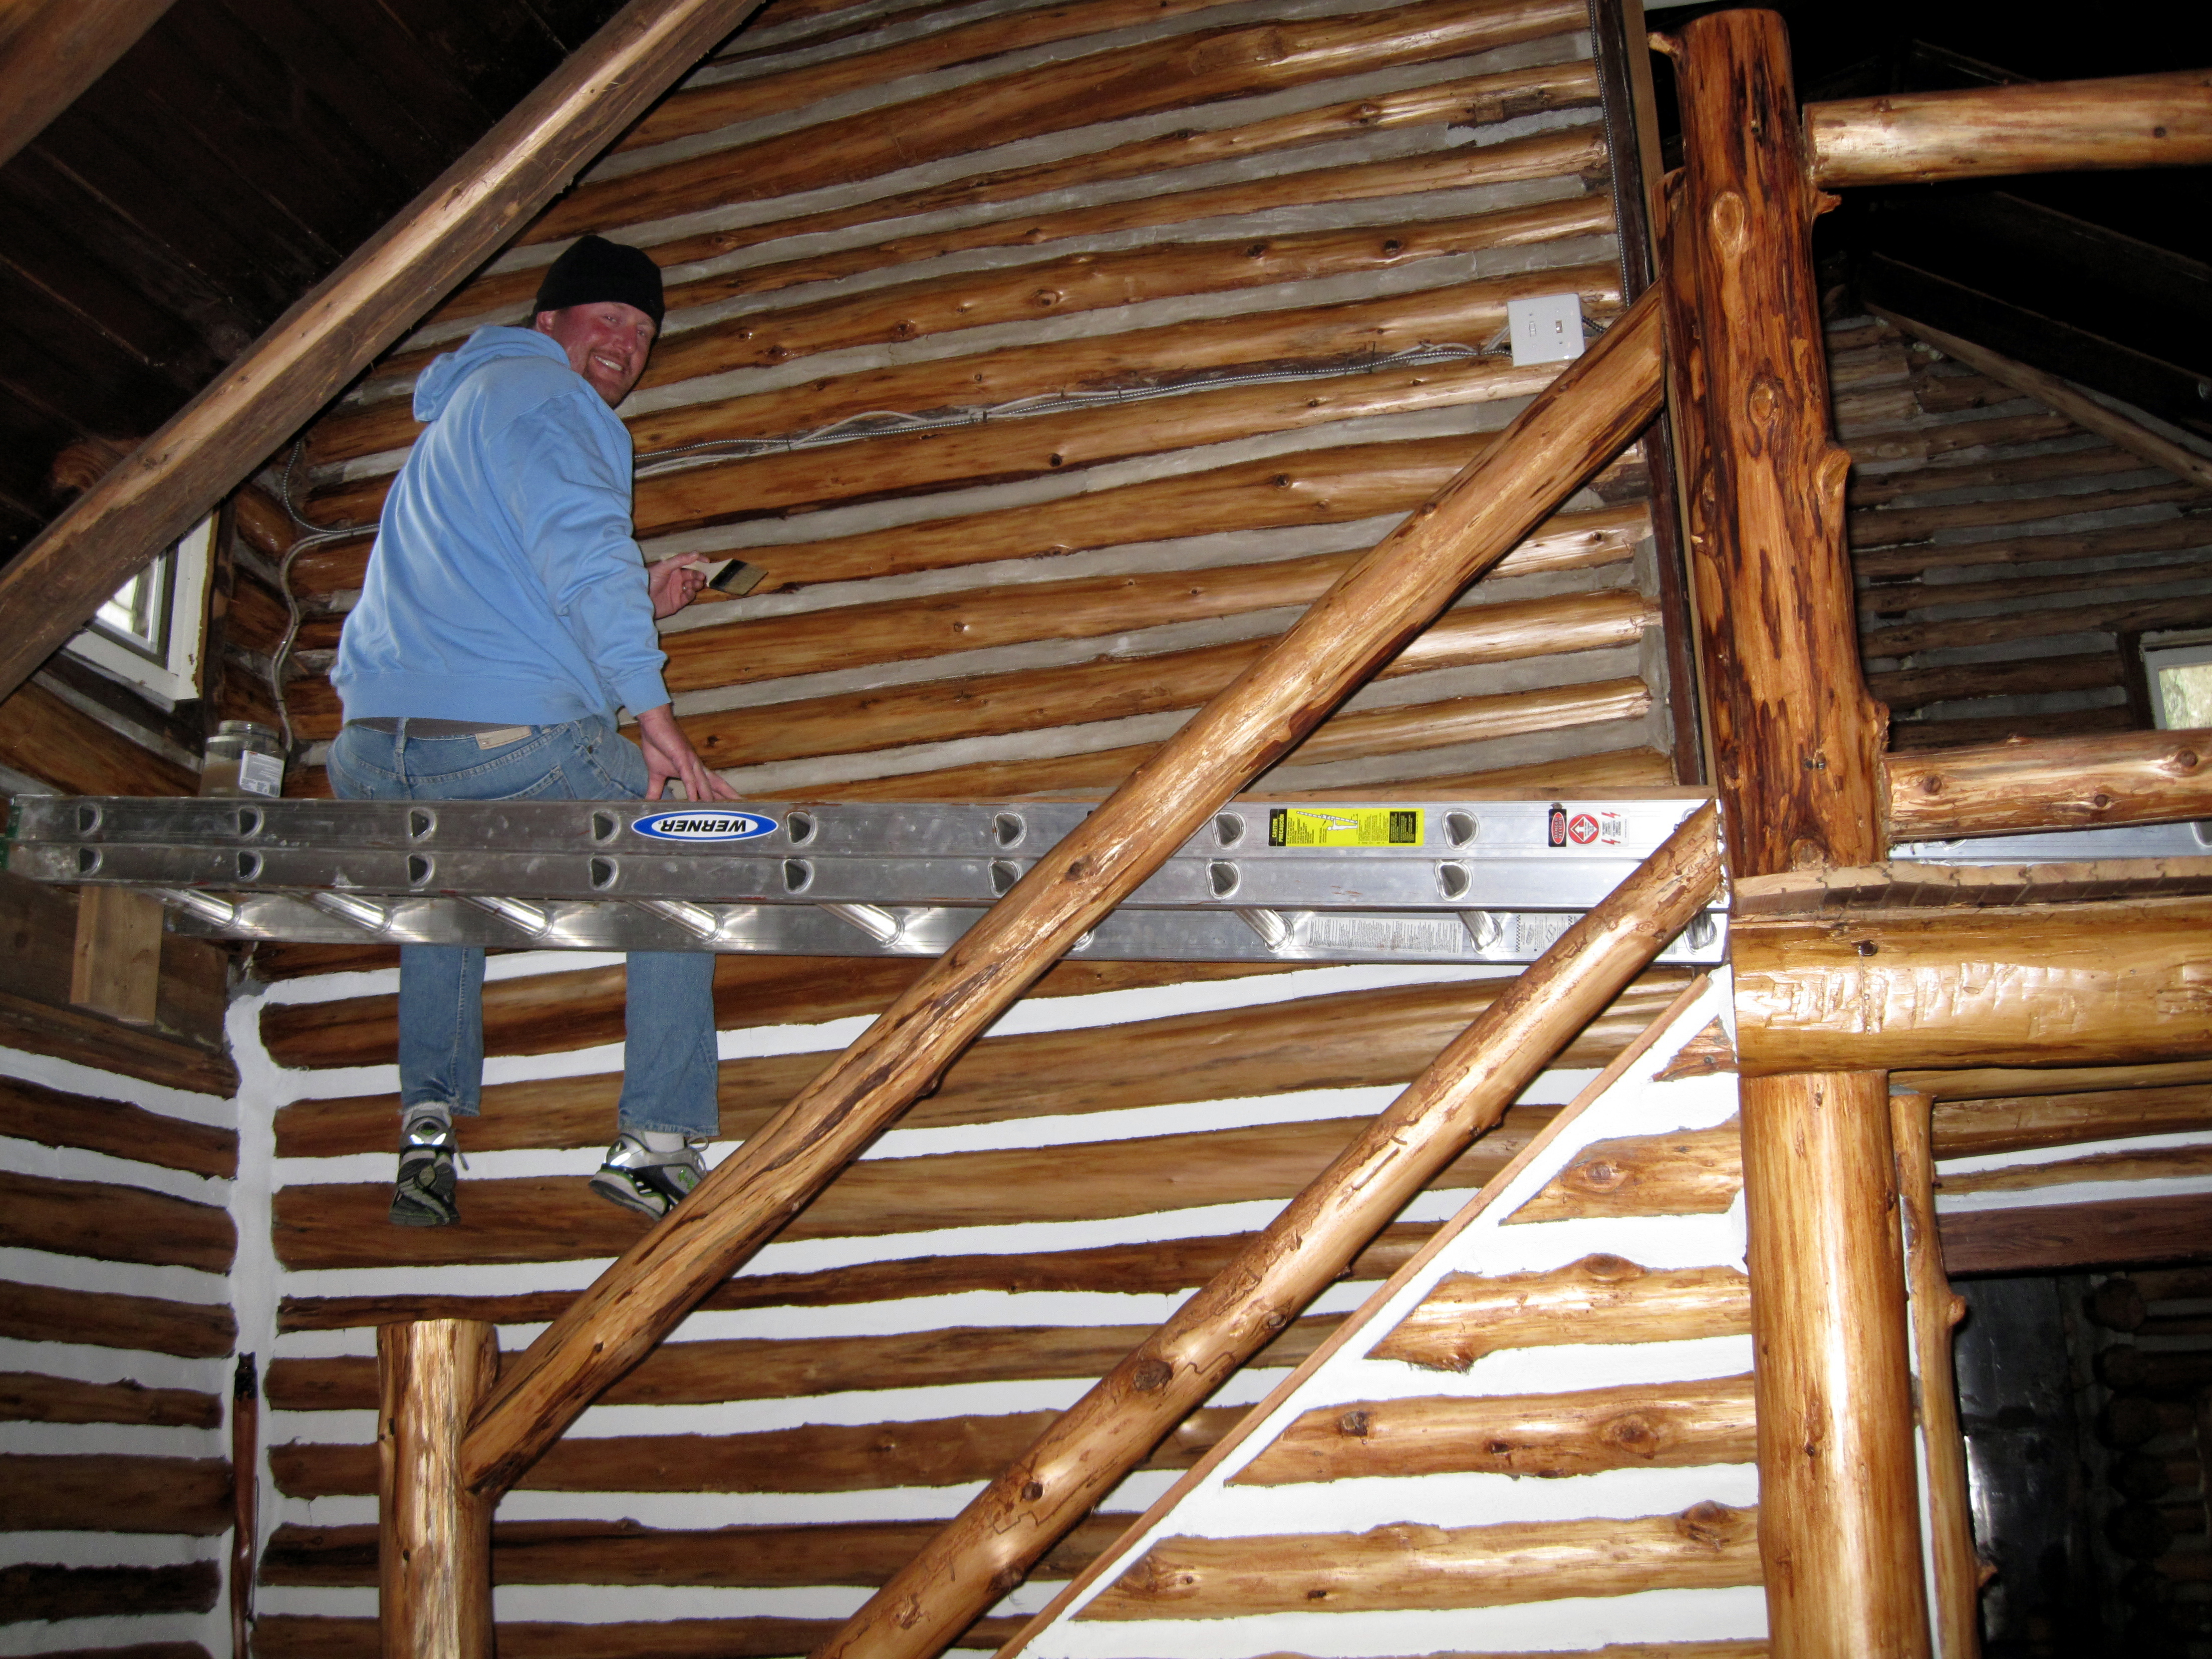
logging the new outer wall


Outer wall completed

Floor installation


Marrying the 2 closest together

Before 
knee wall and shower installed behind toilet


Vanity
I’m disappointed that I never took a “head-on” photo of the original vanity…but you can get an idea of what it looked like from the first photo in the below set:


Toilet/Shower area

2009 2010 
2021


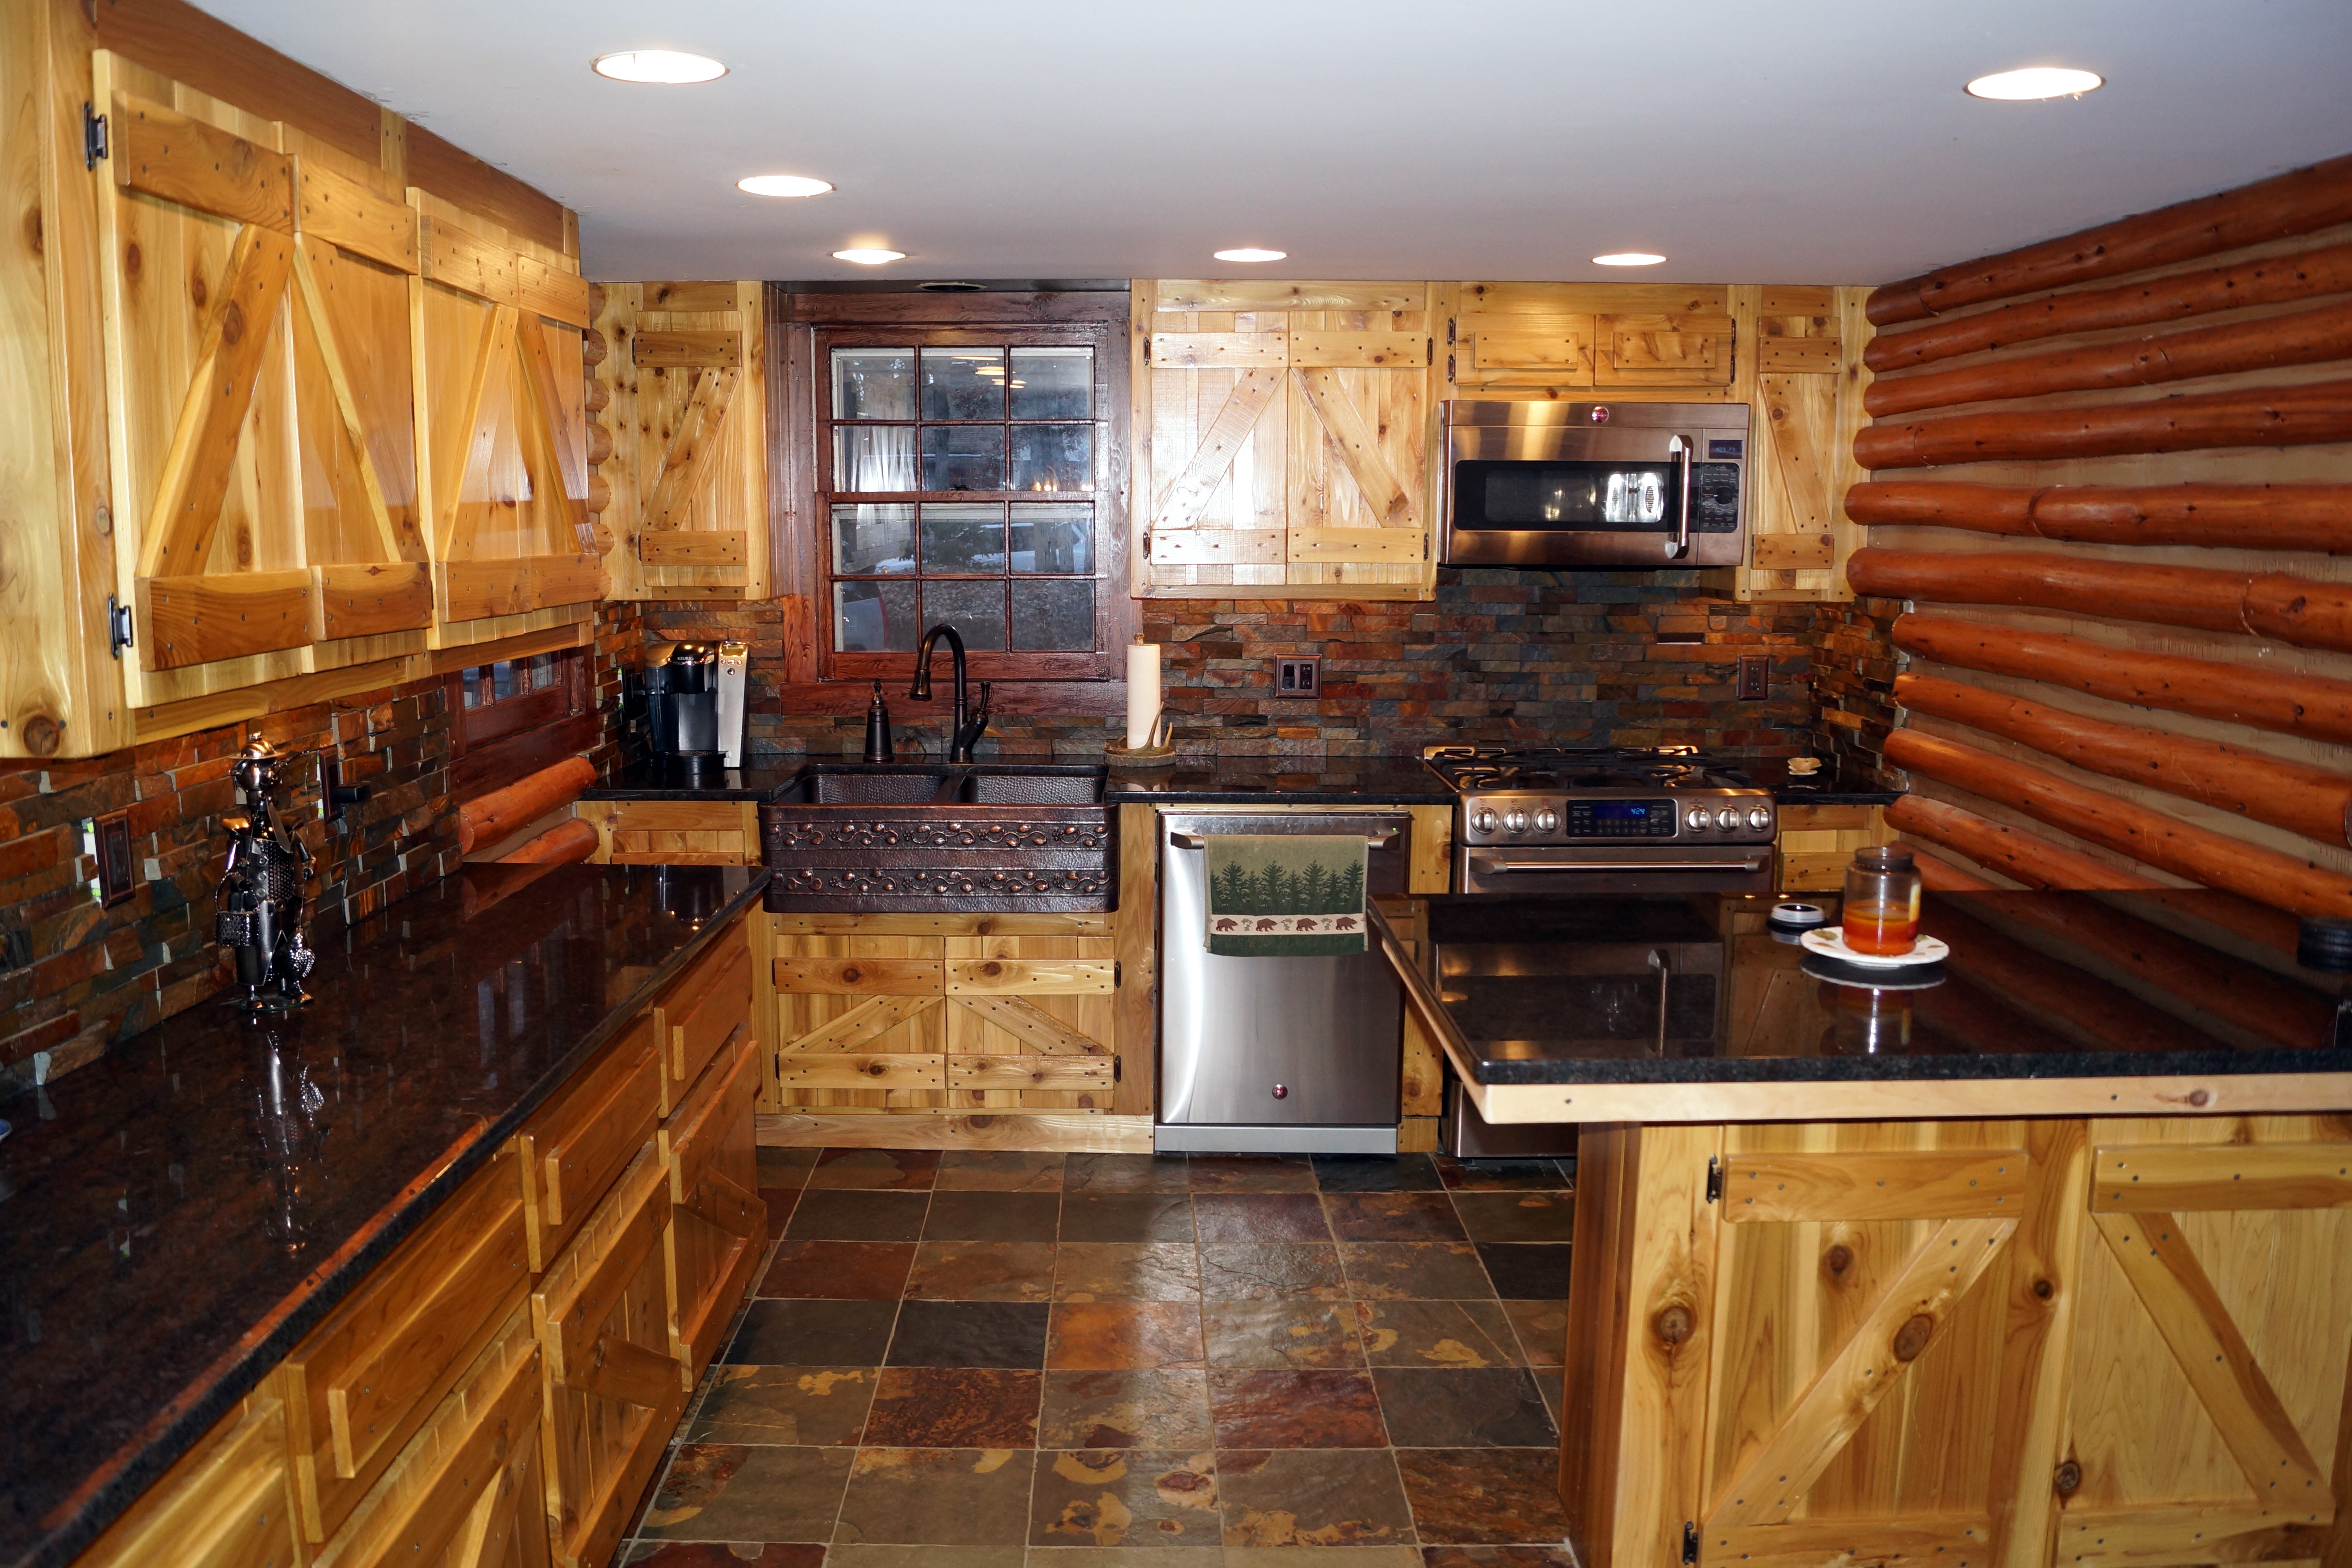
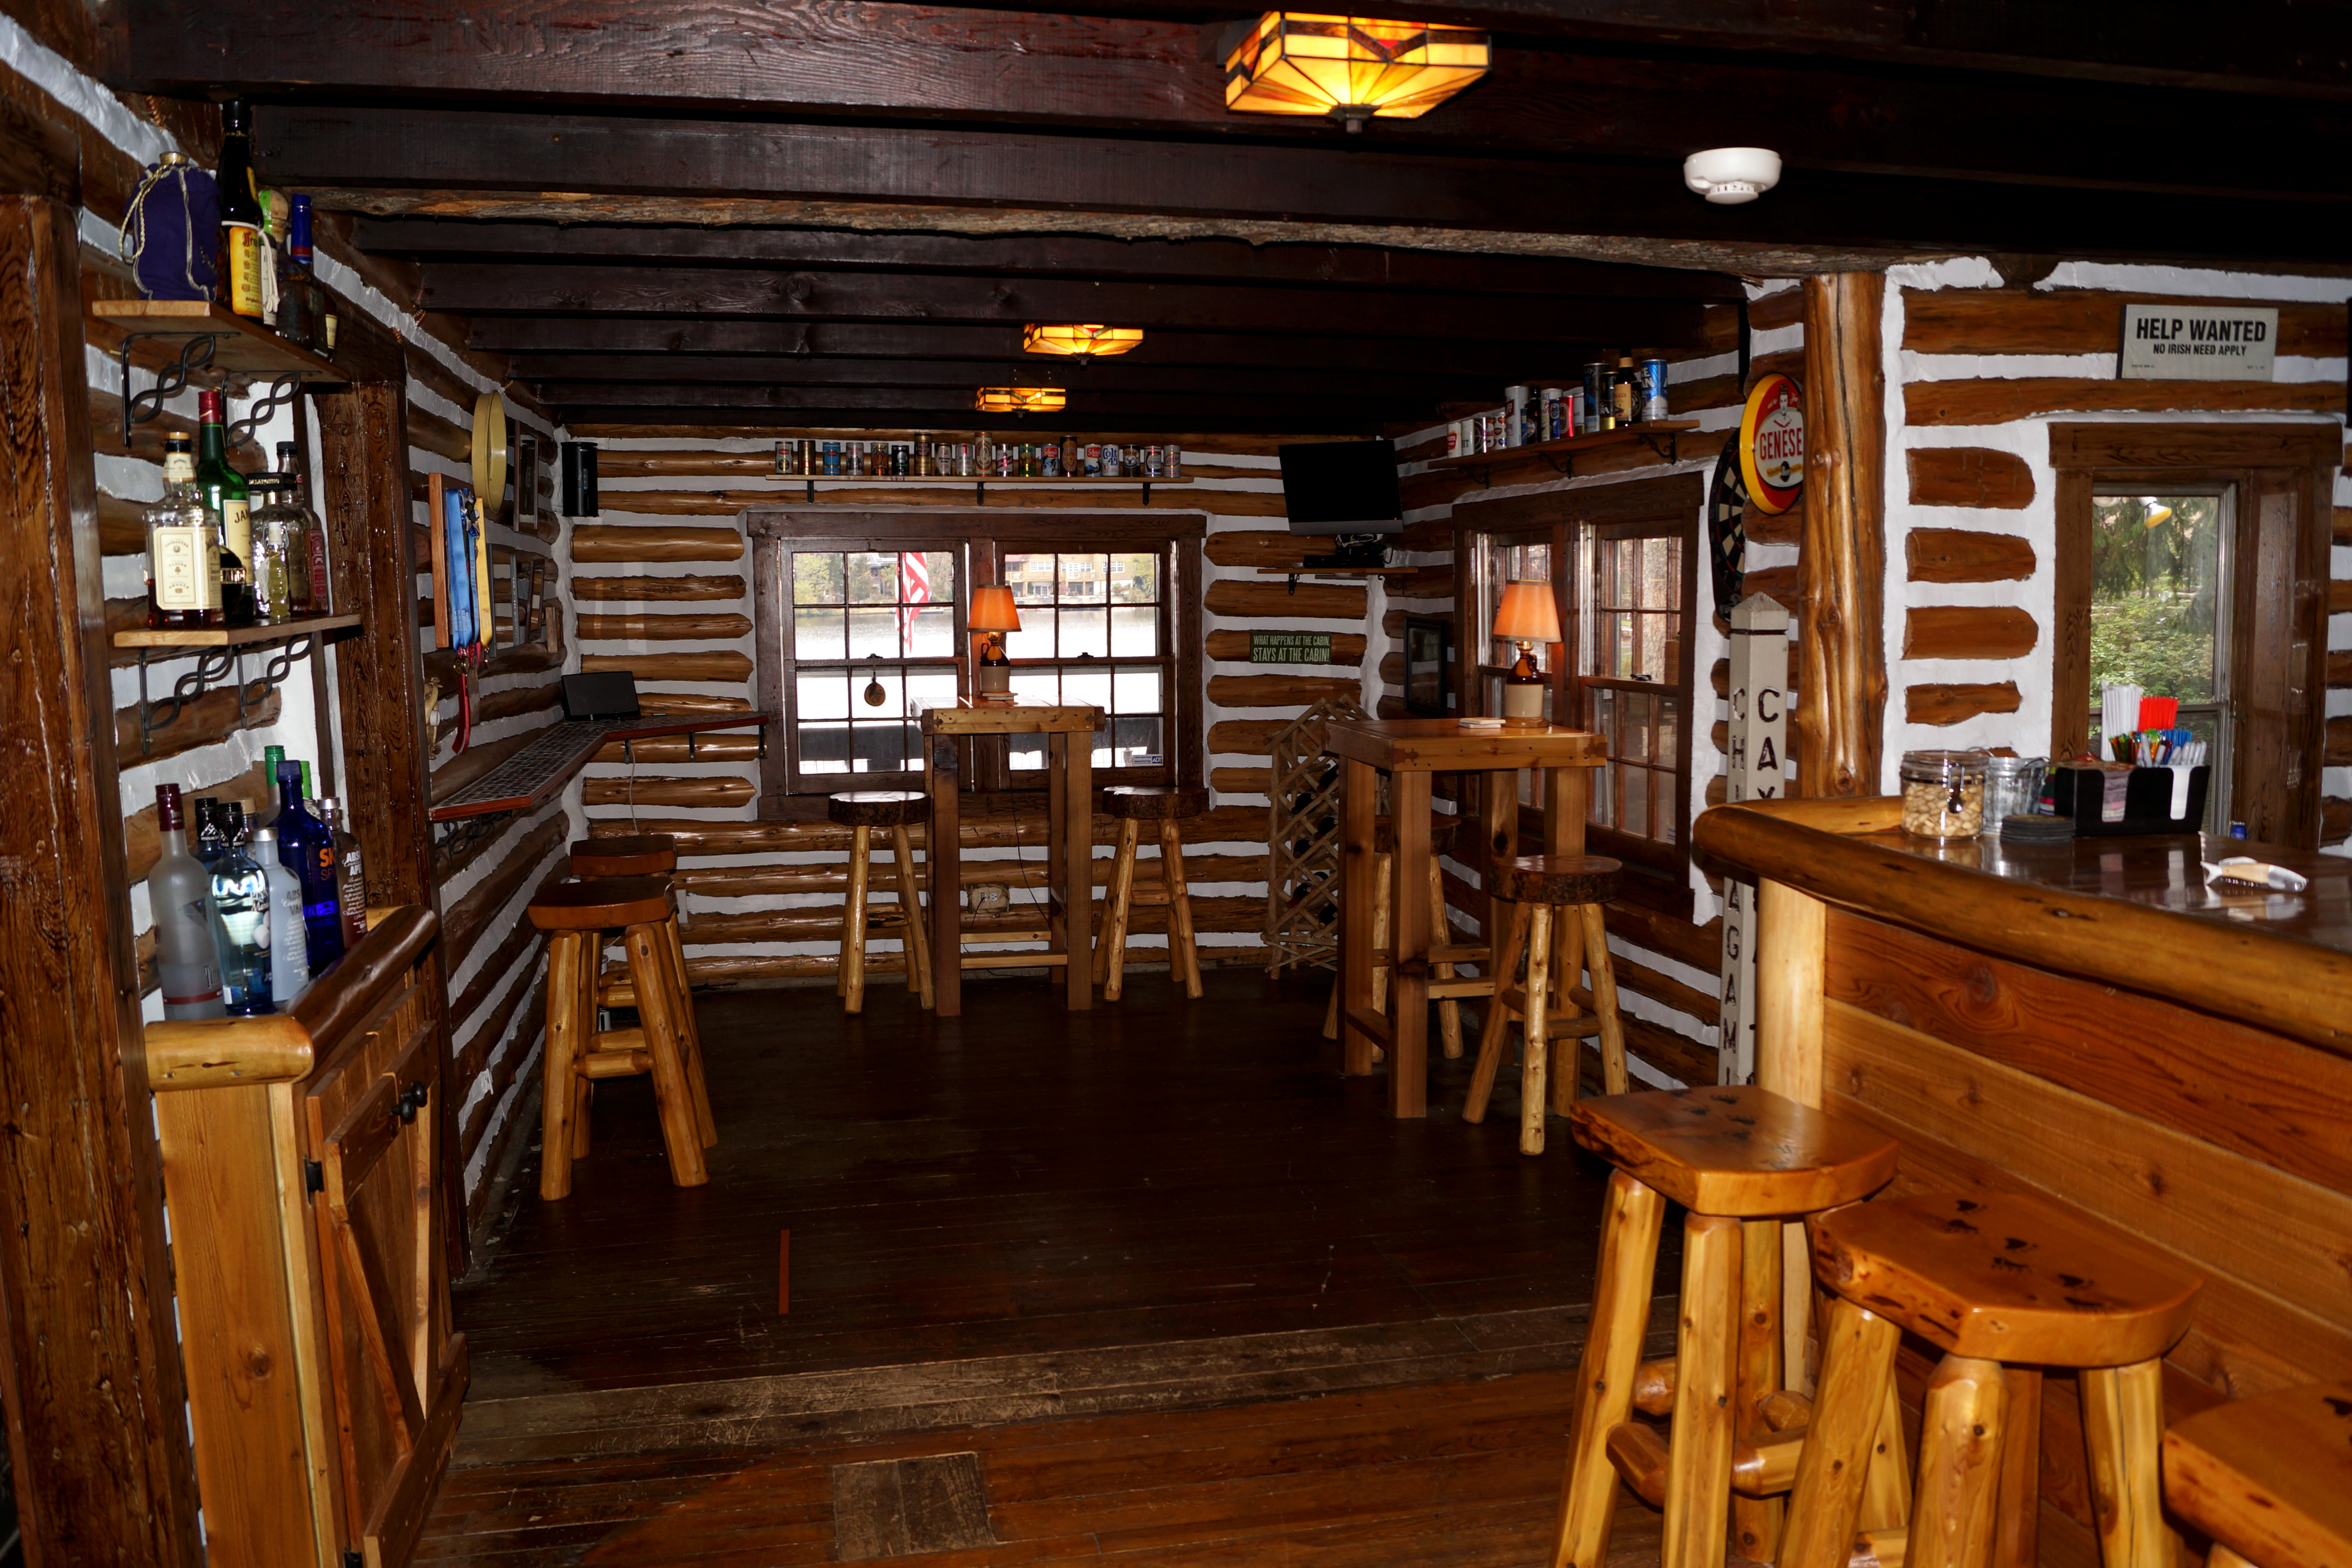
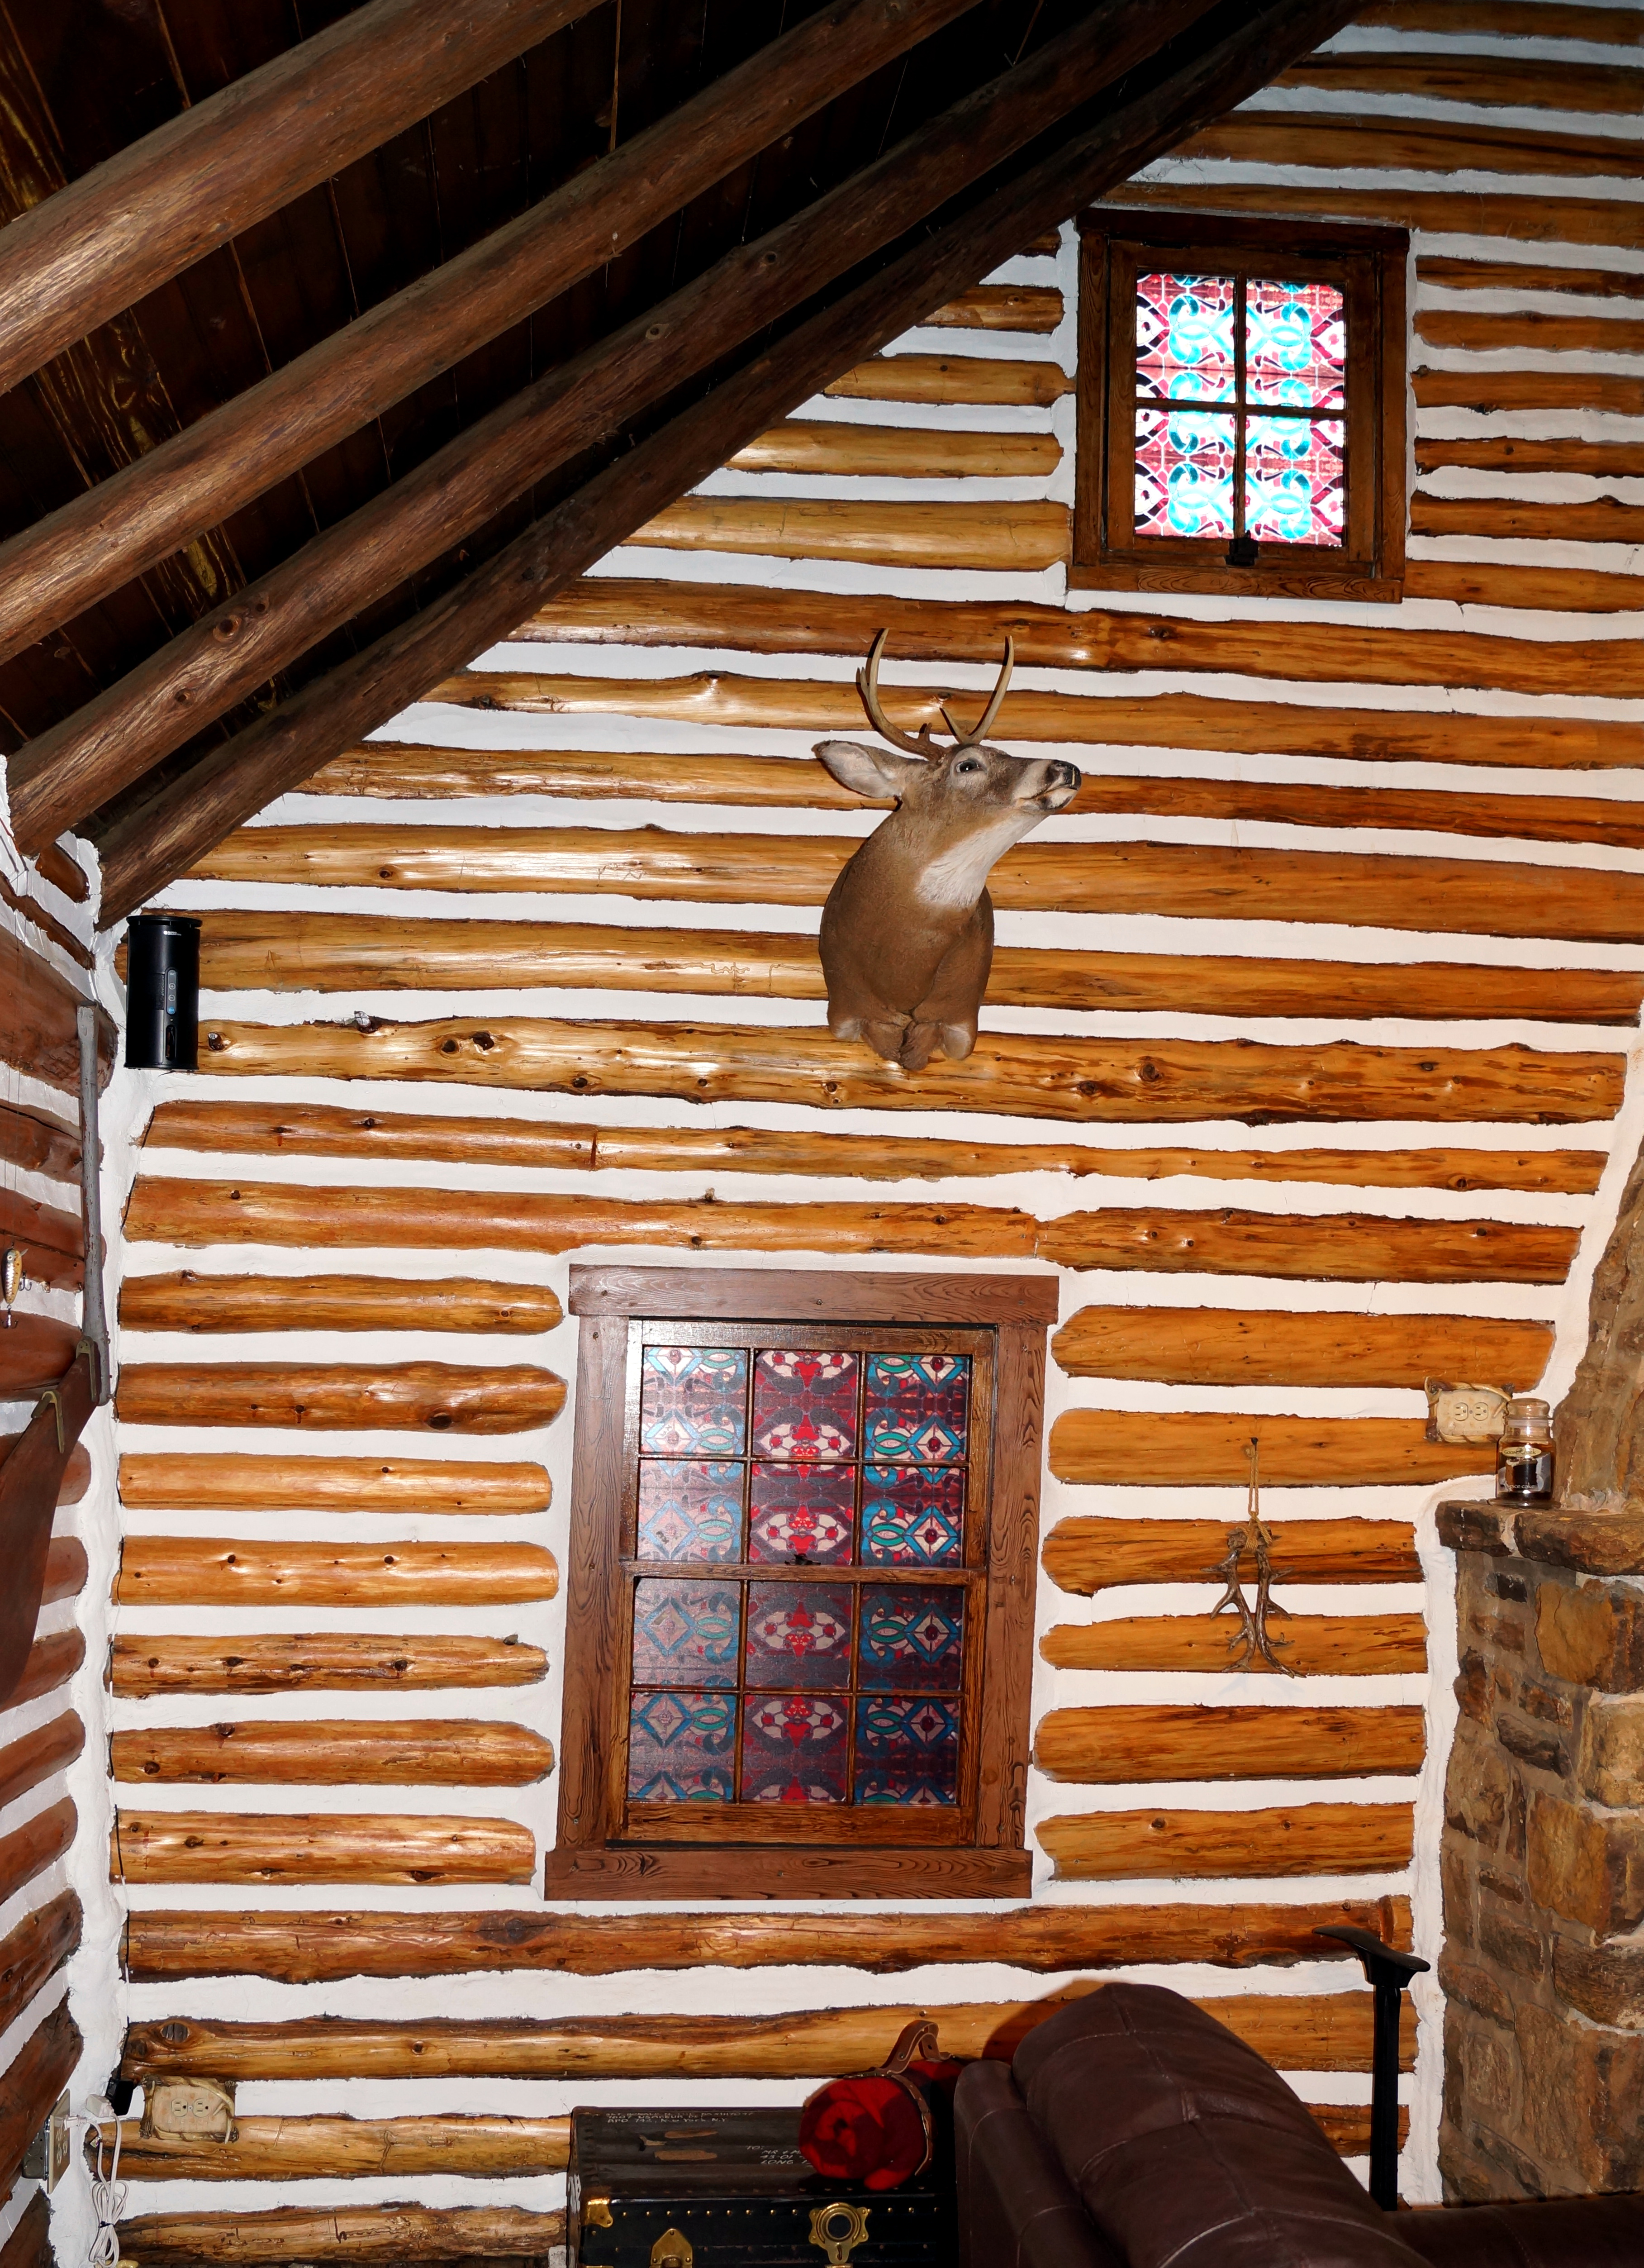
Project completed!
We now have a full bathroom upstairs with the shower, toilet and vanity all in one room!


First shower in the new shower
Although Limoncello (below left) was the first to actually walk into the shower, she declined and gave the first shower actual to Sweet Reet.

Margarita christened our new shower in April of 2021, just two months before she gained her angel wings.

Miscellaneous construction photos along the way


