Tornado Hits Medford Lakes, NJ!

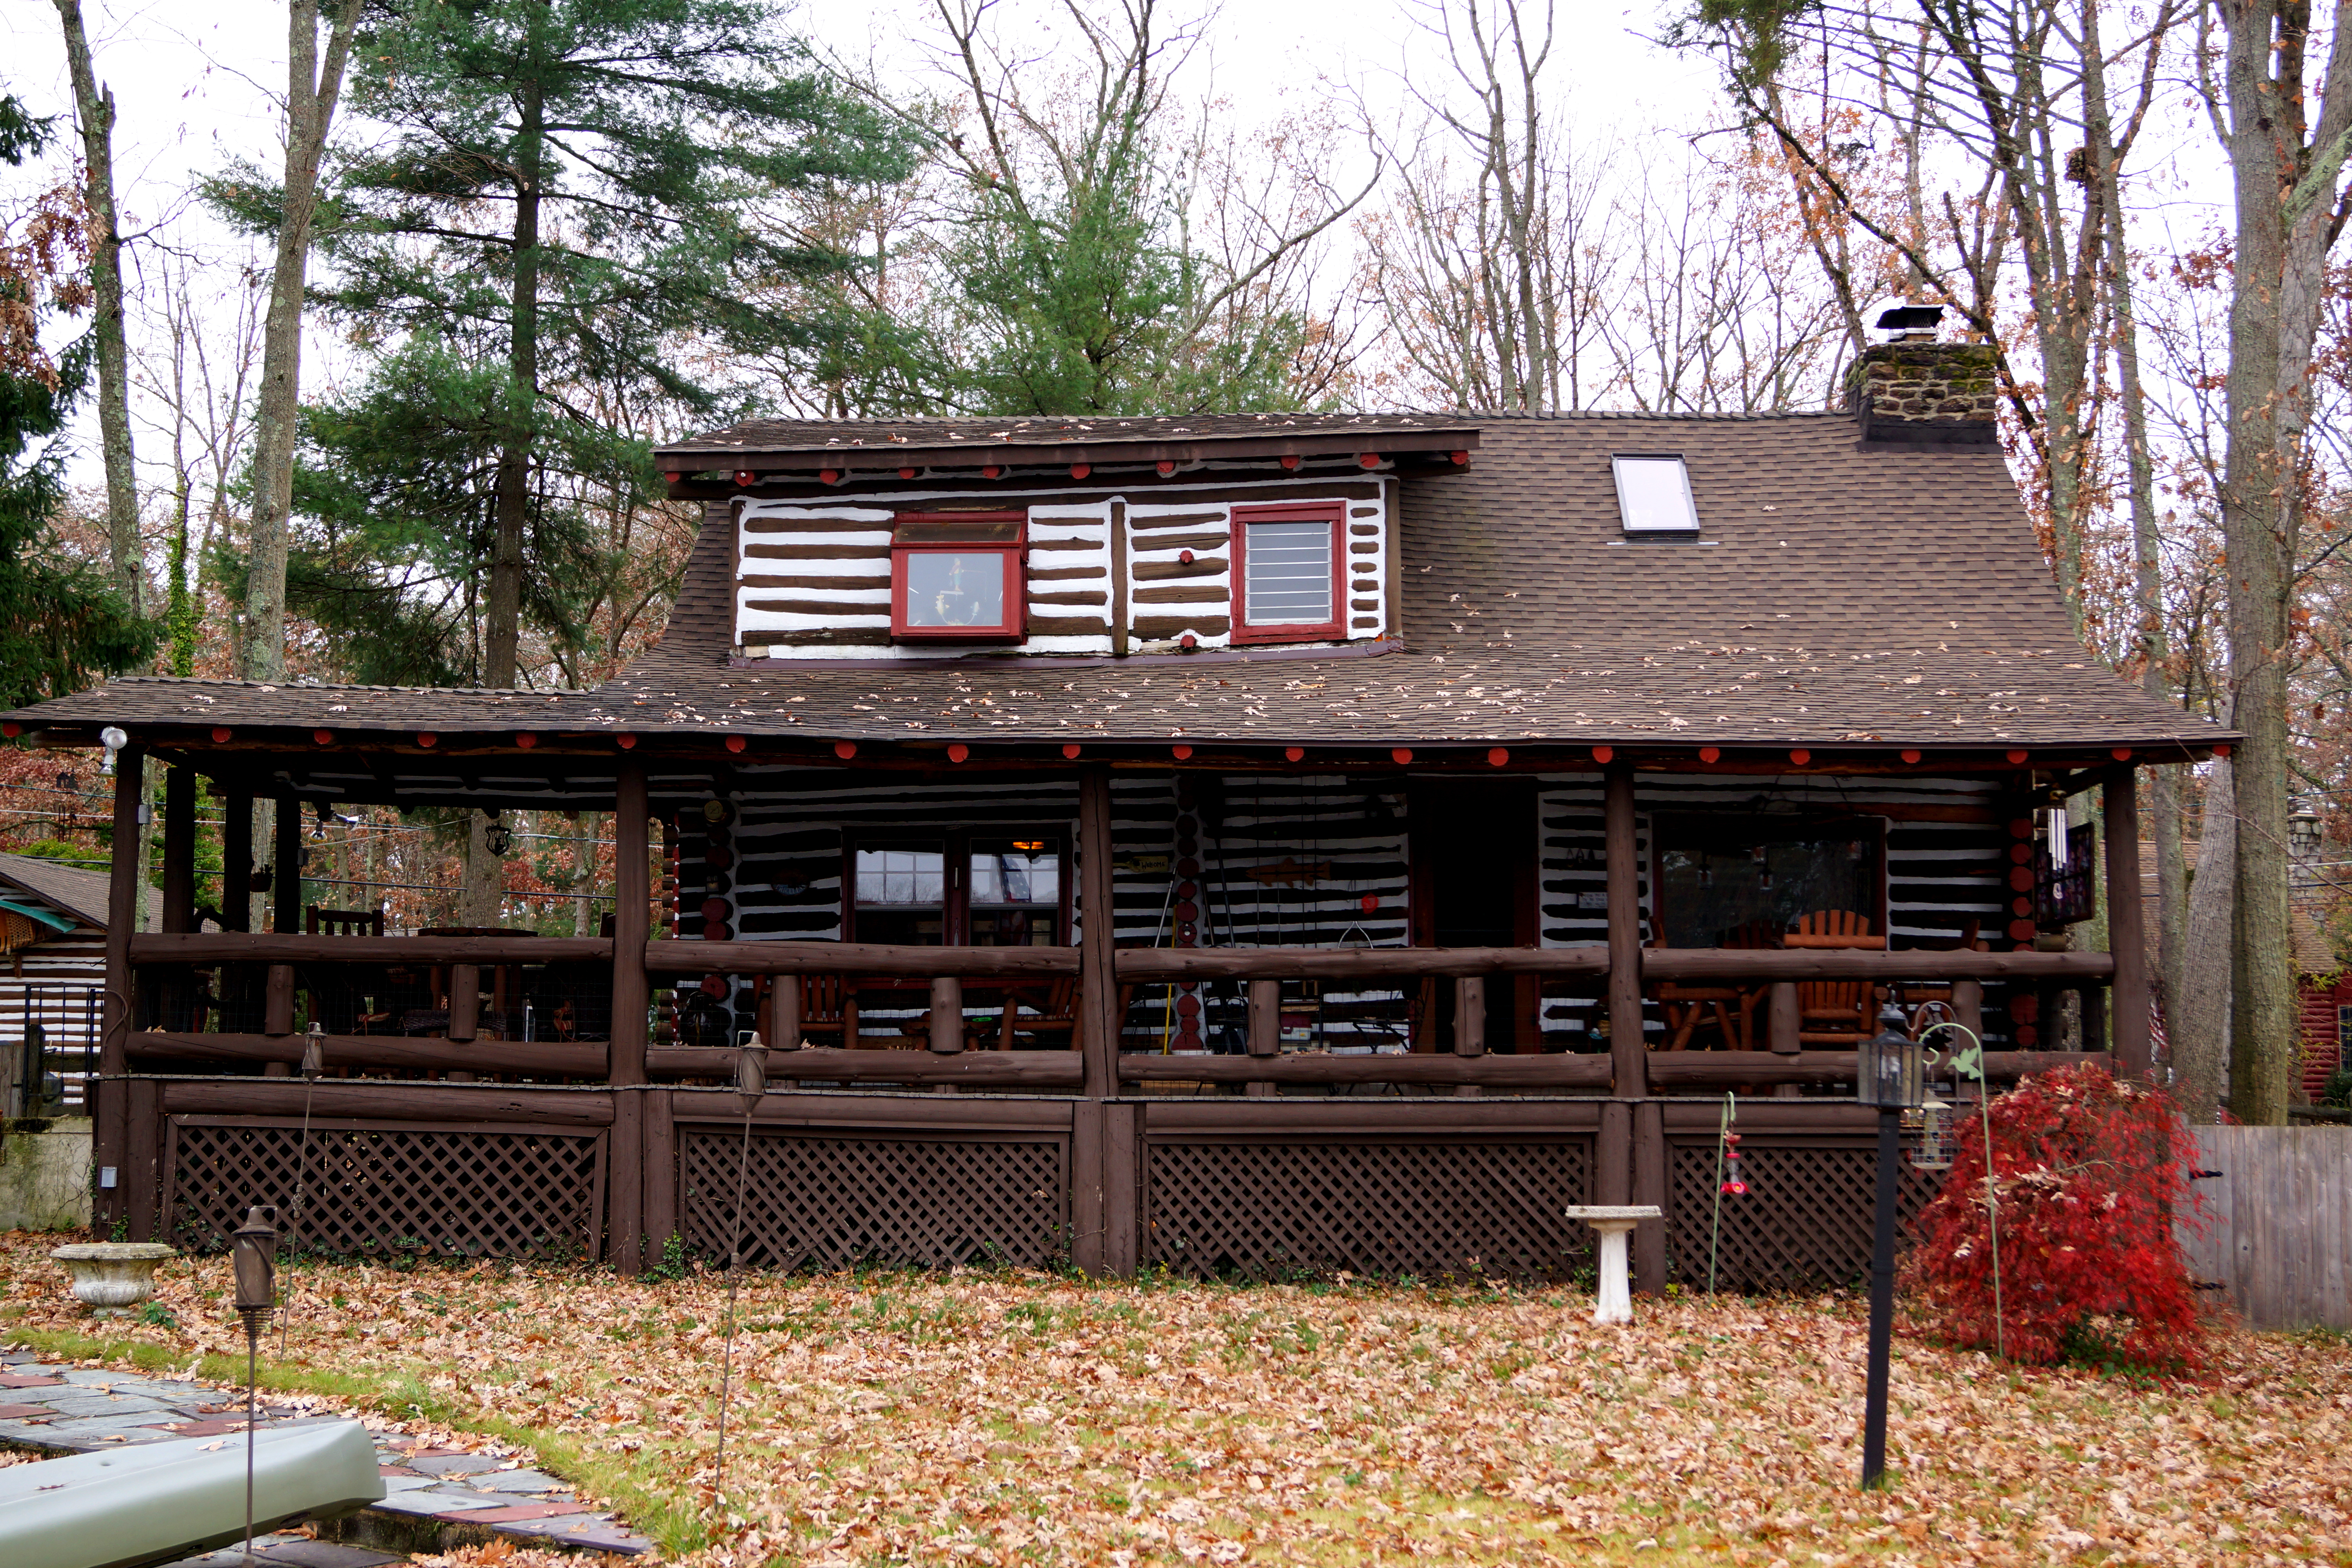
On August 1, 2009, I had laid down in our bedroom with the blinds drawn, trying to ward-off a migraine.  Just as I drifted off, I awoke to sounds I cannot even describe.  Medford Lakes NJ got hit with absolutely no warning by a tornado! Yes, a TORNADO in New Jersey!  Crazy, right?  What’s even crazier is that the tornado traveled right down our street!  It touched down just feet from our home, just one week after we had dead trees removed from our property, and just days after our new roof was complete!  We were one of just a few houses on our street that were spared completely – minus a broken flag pole out on the lake-side of our property.

When I woke up to excruciatingly loud pops and bangs, I ran out onto our porch to discover a house across the lake was on fire.  I still had no idea what was going on!

Tornado 3


I immediately called Brian, who was on his way home from work at the time.  I was in shock, trying to describe what was going on – and Brian had no idea what I was talking about.  Where he was driving, only minutes from our home, the weather was a gorgeous August day.  I went out to the front of our home to see this:

Tornado 1


The tornado some how by-passed our home, and traveled right down our street, causing awful damage to houses and cars!

Tornado 18

Tornado 17

Tornado 16

Tornado 13

Tornado 12

Tornado 11

Tornado 10

Tornado 8

Tornado 7

Tornado 6

Tornado 5

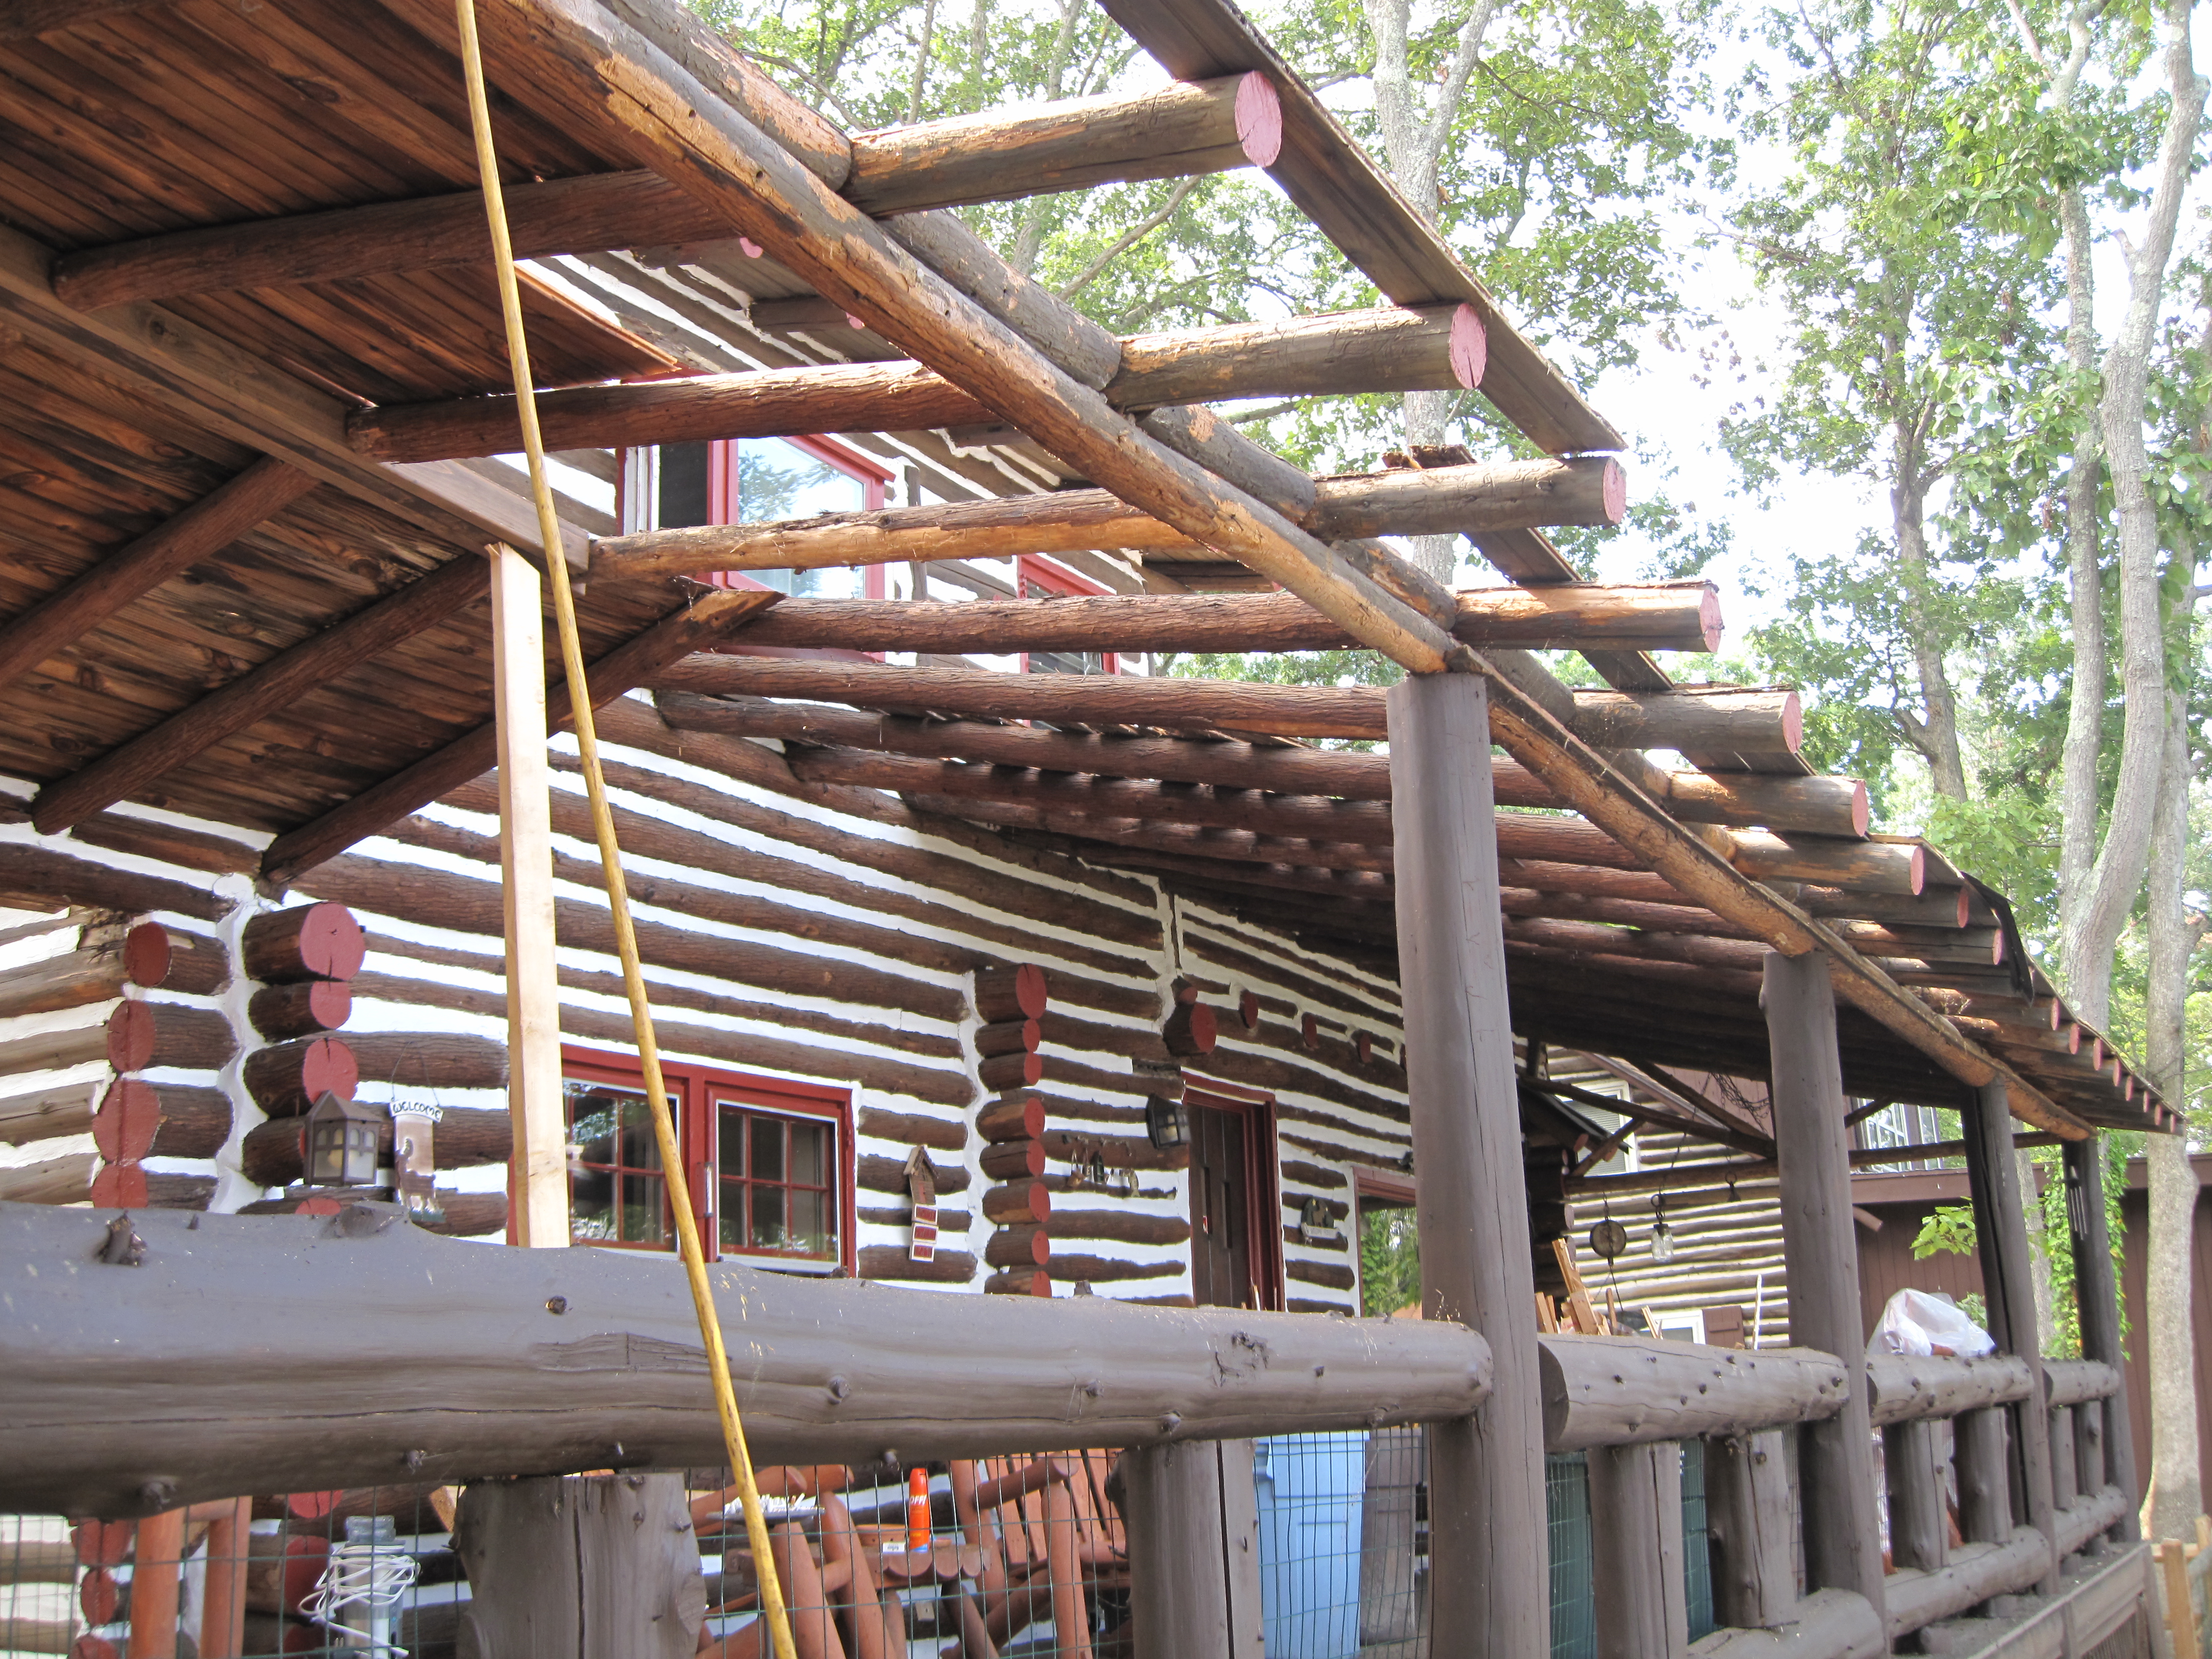
Our home and my car were left untouched – with just a broken flag pole:

Tornado 4

Our street was shut down, and the Red Cross delivered fresh water and supplies to all the houses due to power-outages and damage.

Tornado 9

Just a few streets over, our town’s golf course suffered much damage as well:

Tornado 15

Tornado 14

I have never experienced a tornado before – and hope I never do again in the future!  We were very lucky to have been spared of damage from this disaster!

The Side Yard

Our side yard was a mish-mosh of broken brick, slate, pavers, railroad ties, and a ridiculously over grown garden.  I spend an entire summer taking out each brick, paver, piece of slate, and railroad tie by hand, and stacking up the “good” pieces of brick (to re-use for a patio).  Brian “mowed” down the garden, and roto-tilled the entire yard in an attempt to grow grass in the sandy Pine Barren soil…EVERYone told him it was impossible to do… and what does Brian do when someone tells him he can’t do something?  He makes SURE he does it! …

The side yard as it was…

photo 1 (2)

Dante and Cleopatra checking out my piles after we installed the new fence:

IMG_1640

Brian, mowing down the jungle…I mean “garden”….

photo 4 (2)

The Roto-tiller….

IMG_1380 - Copy

“New” side yard, with patio and walkways built with whatever good materials we saved from the original yard…oh – and the grass that was “impossible” to grow …way to prove everyone wrong, Brian!

IMG_1732

IMG_1733

New “GSP” size fencing! Added in Winter, 2015:

unnamed (1)

Porch

The 40 foot porch overlooking the lake had been screened in, and the log railings had been replaced by a plywood wall. We wanted to restore the porch to it’s original form – log railings.  We asked around town about where we could buy logs, and we were connected with a man named “Spike”…he still operates the saw mill where the original logs of this home were milled!  Generations of his family harvested cedar trees, milled them at their saw mill, and carted them by horse and buggy down the main street of our town, to the log homes that were being built here!  It was great getting some more history about our home and community from Spike!

Porch Before…

photo 5

Porch After…

DSC08570

First Project – The Roof

Why start anything inside when we have a leaky roof, right?  The first project we decided to tackle, was one of the biggest – and one that we could not tackle ourselves… the roof.  This project was quite the eye opener…a lesson learned with log cabins…no project is easy, quick, or inexpensive…and ALL projects, no matter how small, lead into 5 other projects!

We wanted the roof to look original – which meant tearing off all the layers (all 4 of them!) and insulating the roof from the exterior so that the original log beams and tongue-and-groove ceiling could be exposed in the lodge room.  What we found was that from the leaking, most of the roof was rotted – and had to be torn off! …I can’t even describe the pit in my stomach when the roofers told us the “the whole thing” was coming off… the sky’s the limit! …


IMG_1515


I’m sure the neighbors “loved” us with all the debri that was around the house for the MONTH it took to do this job!

(original estimation from roofers was 1 week!)

IMG_1500

After the exterior was torn off, looking up in the lodge room was like looking up at an old barn ceiling!
IMG_1489

Tearing out the paneled ceiling and walls in the lodge room…so that the roofers could see the roof from the inside and install the skylights.
IMG_1426 - Copy

IMG_1478


Finally done!IMG_1602

IMG_1606

Cello’s Cabin… “Beadling’s Windy Spot”

PAN July 2010In 2009 we bought our dream home – on a whim – and totally unprepared for what was in store for us.  We used to have conversations about what our dream home would be, what it would “have to have,” etc.  Well, one day, we stumbled across our ultimate dream home…a log cabin on a lake…with all the “requirements” on our once fantasy dream-home list… except it wasn’t quite in “dream-home” shape…and it didn’t quite look much like a log cabin!…

The home we purchased was a real cedar log log home, built in 1927.  It is built on a double lot, with a 2-car log constructed garage.  Some time over the years, the original logs AND ceilings of the entire home were covered over by painted-white paneling.  The original hardwood floors were covered with rug…It was infested with mice, flying squirrels (yes FLYING) – and bats (YIKES)…(all of which we finally were able to safely remove and relocate). The cabin also had an entire log wall whittled down to toothpicks  by the family of (regular) squirrels living between the paneling and logs (family of squirrels also safely relocated!).   …Aaaah…with  the adventures we encountered…I could have written a book!

Our goal: Restore it back to it’s original glory…expose all the logs, fix all the chinking (white stuff in between the logs), and make some upgrades along the way – all “DIY” style…ON OUR OWN! …  My thought at the time was “No problem!” … I swore we’d be done the home in it’s entirety in 3 years… what I quickly came to realize is that we had just purchased a life-long project! Although frustrating at times,  it has truly been one of the most rewarding things Brian and I have ever done.  The memories we have created here, both inside the home, and out on the lake, are priceless!

Posts to follow are just SOME of the things we have demolished, built, and restored!

DSC08570


Meeting Oogy, and Buying His Book

September 2011

While at WoofStock, Cello got to meet Oogy, a dog that was used for bait for a pit bull in dog fighting.  His story is amazing.  His owner wrote a book, which we purchased while we were there.  Oogy’s owner signed the book, and Cello got her picture with Oogy.  I still cannot bring myself to read the book – although a happy ending, it is such an upsetting thought that anyone could do this to a dog.

IMG_4445

oogy and his owner

Ava’s Pizzeria and Wine Bar, St. Michaels, MD

November 2013

We discovered this Gem on DogFriendly.com …Not only was this place really cool and super dog friendly but it also had a special menu just for dogs!  Cello enjoyed the Beef Stew off of the Dog menu!

DSC08240

DSC08244

DSC08251

DSC08247

DSC08241

First Camping Trip! Blue Rocks Family Campground, Lenhartsville, PA

October 2011

Our first camping trip -ever -for all of us! We went to Blue Rocks Family Campground.  Brian and I had never tent camped before, but we thought it would be a great activity to get into for Cello – and for us.  Cello was just 7 months old on this trip.  She was so calm and content – we had a great weekend! Little did we know it was the start of an obsession!

We bought a tent with a front porch area…just like at home 😉

photo 1 (3)


Cello had her own back pack!photo 2 (4)

In the News…

The next week I came home from work today on my lunch break, and was looking through the mail.  We have another local paper that is delivered for free to all residents of two towns.  It is called the Medford Sun.  I decided to look through the paper while eating my lunch…and discovered that the picture of James and Cello made it’s way into the Medford Sun newspaper as well!! 

DSC08550

Making Headlines

My sister, Casey, told me that she was going to dress her 9 month old son, James, as a Pumpkin for his first Halloween. We decided it would be a cute idea to dress Cello as a pumpkin as well, and go trick-or-treating together.  I searched online for a pumpkin costume – never expecting to come across almost the exact costume James had!  We dressed them up, and headed out on Halloween to trick-or-treat. Cello had neighbors coming out of their house to give her treats!  We had a blast that day – and took lots of great pictures of Cello and James…one of them made a local paper, the Central Record!

DSC08557

Here is the original picture:

DSC07909

I Love, I Love My Calendar Girl… Yeah, Sweet Calendar Girl !

A local animal shelter,  Animal Welfare Association, had  a contest to raise some money for their shelter.  You could make a donation and enter a picture of your pet to be placed in the shelter’s 2014 calendar.  “Winners” would be chosen to have the biggest picture for a particular month.  All photos submitted were guaranteed to be in the calendar, but only the “best” would win the “big” pictures for each month.  …Cello won “Miss November!” She also had a second photo featured in the month of August.  You can help out the shelter and purchase one of these calendars!

And here are the pictures in the calendar:

“Miss November”

DSC08551

November “spread”

DSC08555

Pool picture on August’s page

DSC08554

Here are the original pictures that were submitted:

CELLO ROCK

Cello in her pool

Cello’s “Spread” on the Trover Coats Facebook Page

While at Cello’s second dock diving contest at the Ocean County Decoy and Gunning Show, we met sweet little Bailey, another female GSP, and Bailey’s “mom,” Annie.  Bailey was wearing an awesome red “robe” looking coat… it resembled a horse blanket, and looked and felt comfy/warm enough for me to want one for myself!  We asked Annie where she purchased this, and she gave us the information.  A company called Trover makes this coat (called a “Bone Dry” coat).  After contacting the company, I realized that Cello’s measurements did not quite match up with the measurements given online for specific sizes.  The person that emailed me from Trover Coats (Toni) couldn’t have been nicer, or more helpful.  They “adjusted” the coat to be fitted for Cello, and shipped out the coat quickly.   The coat fit perfectly, and is so well made!  I was so happy, that I emailed Toni back with pictures of Cello wearing her Bone Dry coat after some dock diving fun at our house.  Toni posted Cello’s pictures on Trover Coats Facebook page… Here is Cello’s “online modeling” debut:  😉


Trover Dog Coats  Facebook - Google Chrome 11142013 44203 PM.bmp

Parmesan Pooch Pleasers

Brian came into the kitchen while I was baking these and said, “Dinner smells great!”… these Parmesan and garlic powder treats will fill your home with a delicious Italian-food aroma!

parm

INGREDIENTS:

  • 2 cups organic Buckwheat flour
  • 1/3 cup organic vegetable oil
  • 1/3 cup powdered milk
  • 1 organic egg
  • 1/4 Parmesan Cheese
  • 1 teaspoon organic garlic powder

DIRECTIONS:

  1. preheat oven to 350 degrees
  2. Thoroughly blend all ingredients in a blender or food processor. Add just enough water to form a stiff dough consistency.
  3. Use a rolling pin dusted with flour to roll out the dough to 1/4 to  1/2 inch thickness, and cut with your favorite cookie cuter.
  4. Place cookies on un-greased cookie sheet.
  5. Bake for 20-25 minutes.For doughy treats, remove from oven and let cool on a wire rack.  For crunchier treats, turn oven off and let treats completely cool in oven.

Sweet Potato-Mint-Apple Biscuits

Sweet potato, fresh mint, and Granny Smith apples make this cookie hard to resist!mint

INGREDIENTS:

  • 3/4 cups organic mashed plain sweet potatoes
  • 3 TB chicken or beef broth (I make my own – but if you purchase, please make sure onion, onion juice, or onion powder is not an ingredient if buying a commercial brand). You can also just use water
  • 2 1/2 cups organic Buckwheat flour (you can use garbanzo been flour as well – or if your pooch doesn’t mind grains, you can also use whole wheat flour)
  • 1/4 cup finely chopped organic mint
  • 1 organic Granny Smith apple, peeled, cored, and grated

INSTRUCTIONS:

  1. Preheat oven to 325 degrees.
  2. In a large bowl, whisk together sweet potatoes and broth.
  3. Add the flour, mint, and apples, and stir until combined.
  4. Knead the dough a few times until it holds together.
  5. On a generously floured surface, roll out the dough to about 1/4 thickness.
  6. Use cookie cutter to cut out shapes.
  7. Transfer cookie shapes to baking sheets lined with parchment paper.
  8. Bake until dried, and just slightly golden, about 35-40 minutes.
  9. Turn off the oven and let the treats cool in the oven for another 1-2 hours

Store in an airtight container for up to a week.  Treats can also be frozen for a longer period.

Banana Oat Mutt Muffins

Made with ripe bananas and honey, these Mutt Muffins  a pup-pleaser!banana oat

INGREDIENTS:

  • 1 1/2 cups organic oat flour
  • 1 cup organic unbleached white flour
  • 1 cup organic quick cooking oats, uncooked
  • 2 tsp baking soda
  • 3/4 cup water
  • 1/4 cup pure organic honey
  • 3 TB organic vegetable oil
  • 2 ripe organic bananas, mashed
  • 1 organic egg

DIRECTIONS:

  1. preheat oven to 425 degrees
  2. In a large bowl, combine the oat flour, white flour, oats, and baking soda.
  3. In a medium bowl combine the water, honey, oil, bananas, and egg.
  4. Add the wet ingredients to the dry mixture, a little at a time, mixing well after each addition.
  5. Spoon the batter into a non-stick mini-muffin pan, filling each about 3/4 full.
  6. Bake about 15-20, or until a toothpick inserted in the center comes out clean.


2yrs

photo (3)


———————————————————————————————————————————————————————————

Ummm, is that stuff for the birthday girl?photo