Made with carob powder and carob chips…but just as tasty as “real” brownies!!!
INGREDIENTS:
1/2 c. organic vegetable oil
2 Tbsp pure natural organic honey
1 c. organic whole wheat flour
4 organic eggs
1 tsp organic pure vanilla extract
1/2 cup unsweetened carob chips
1/4 c. carob powder
1/2 tsp baking powder
DIRECTIONS:
1. Preheat oven to 350 degrees
2. In a medium bowl, mix the oil and honey until thoroughly blended
3. Add the remaining ingredients, and mix well.
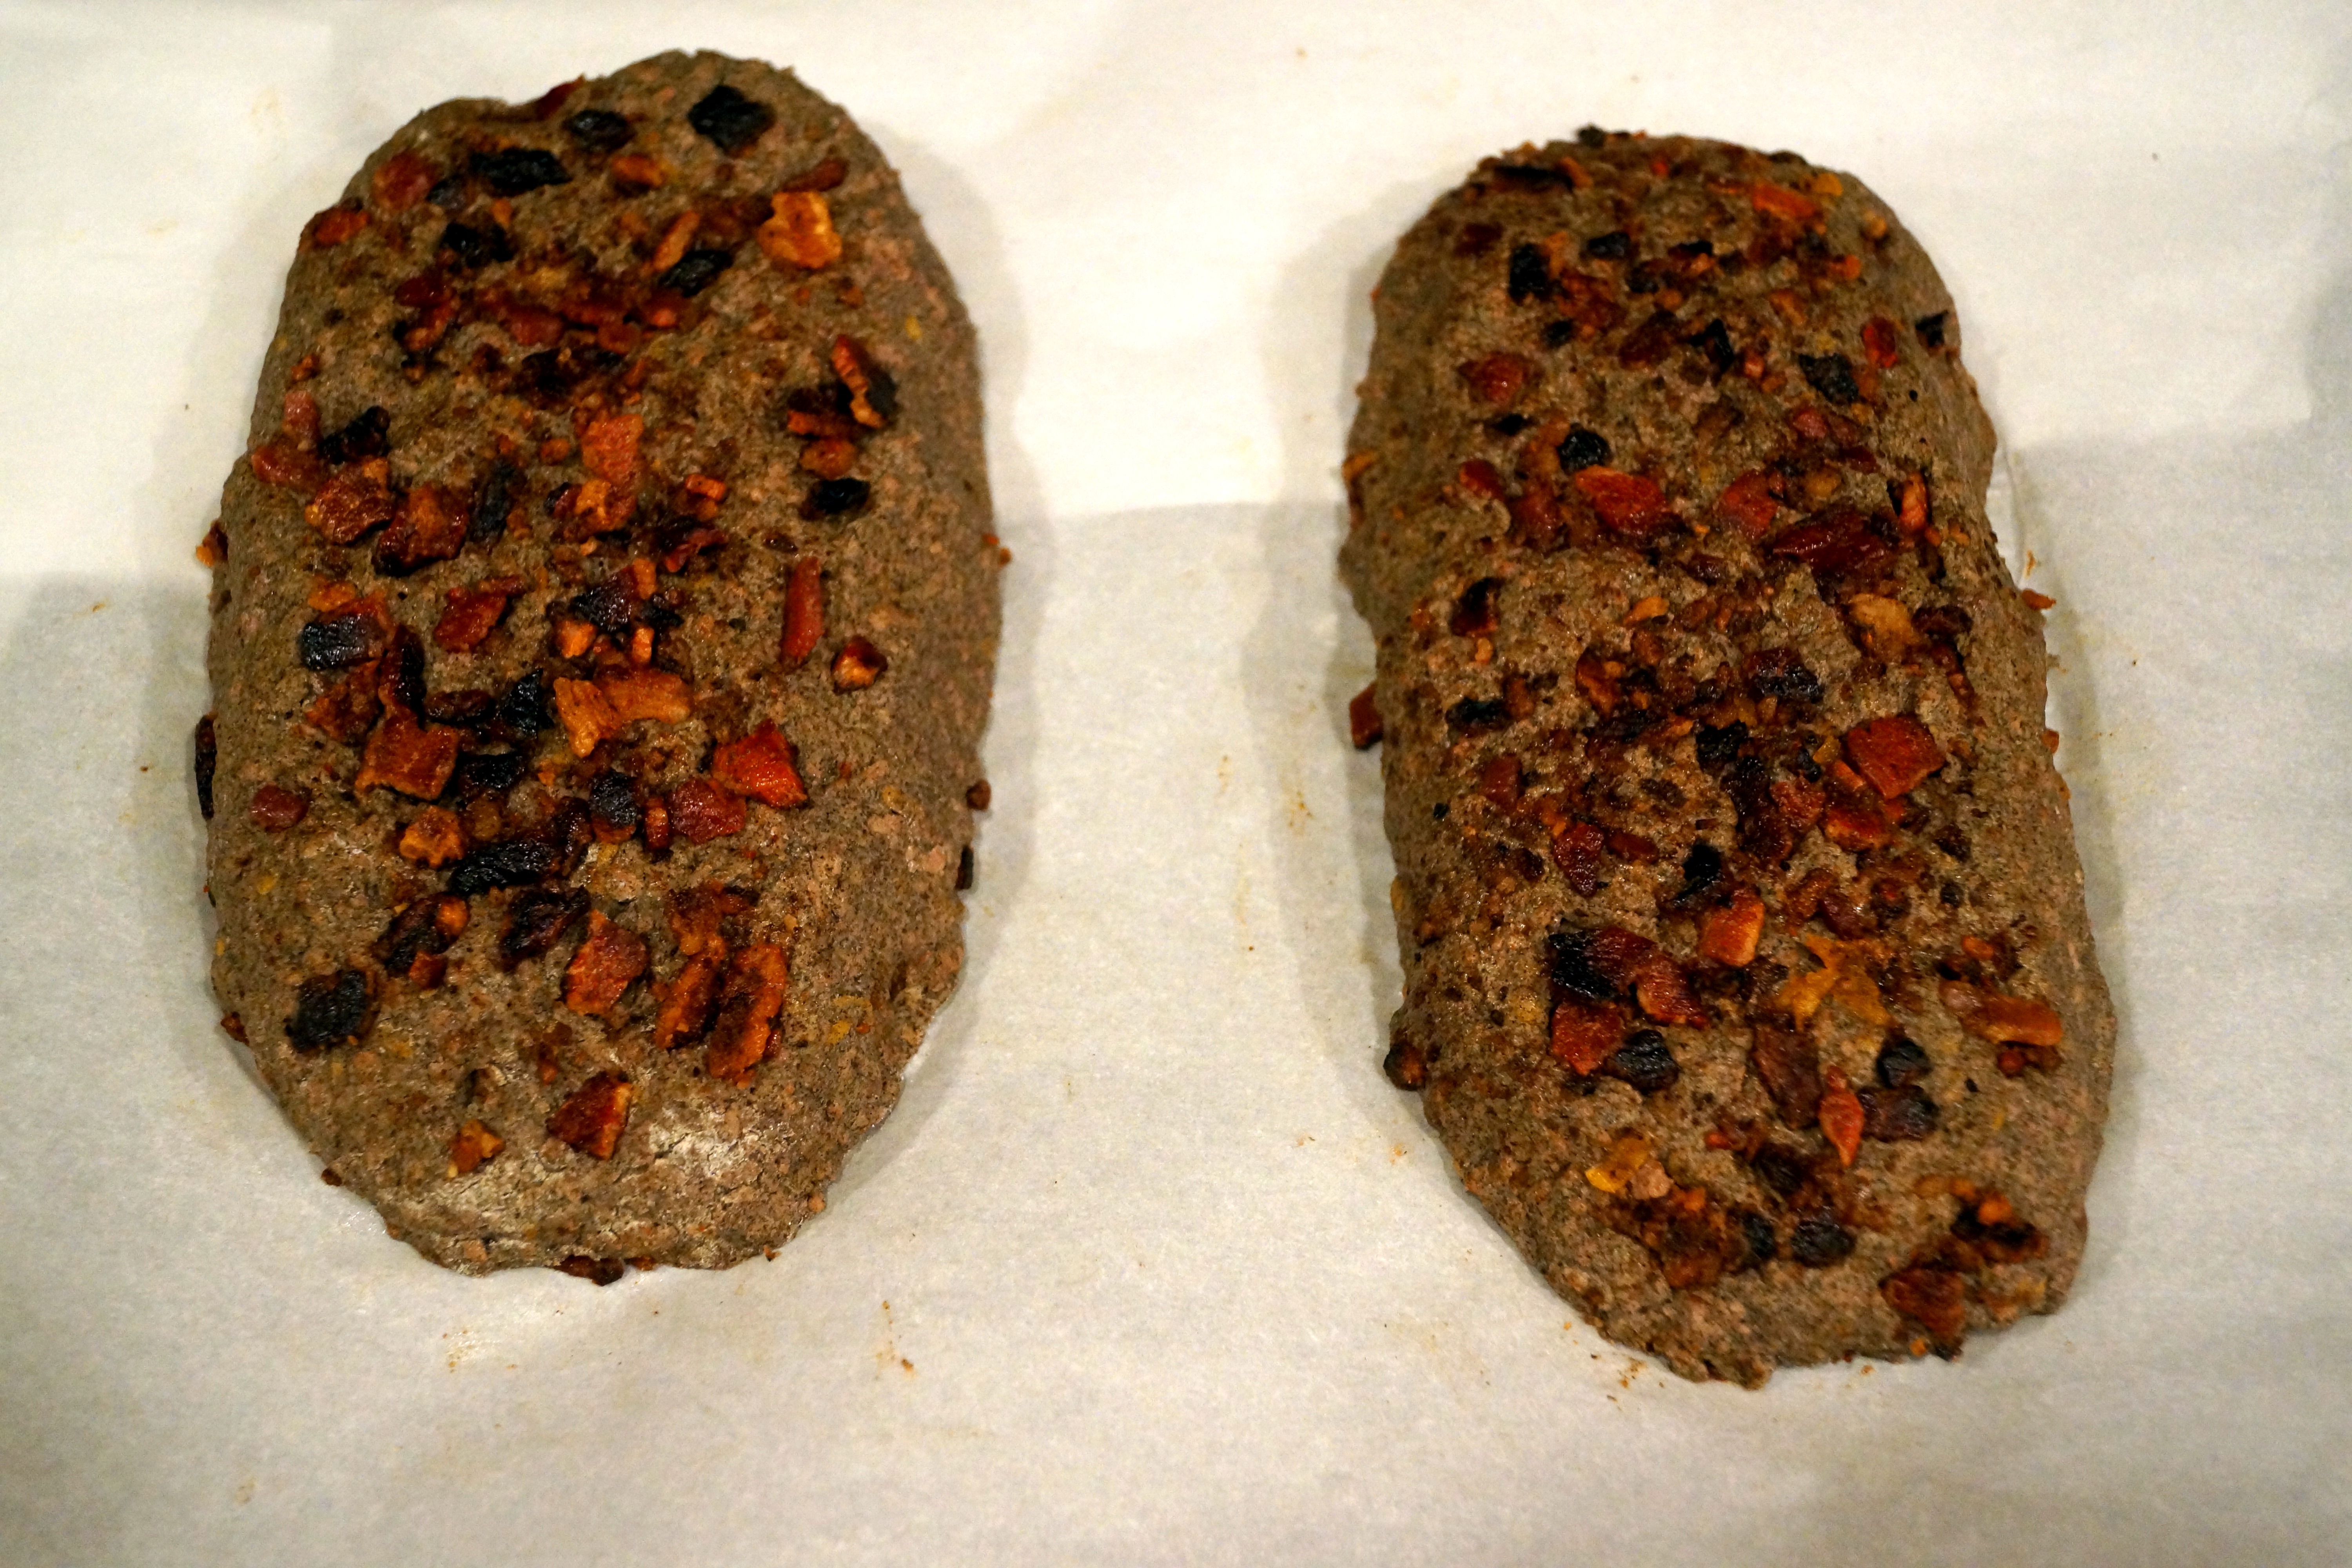
4. Pour into a greased baking dish (I used an 8 x 8 disposable tin pan).
5. Sprinkle a few carob chips on top, then bake for 30-35 minutes
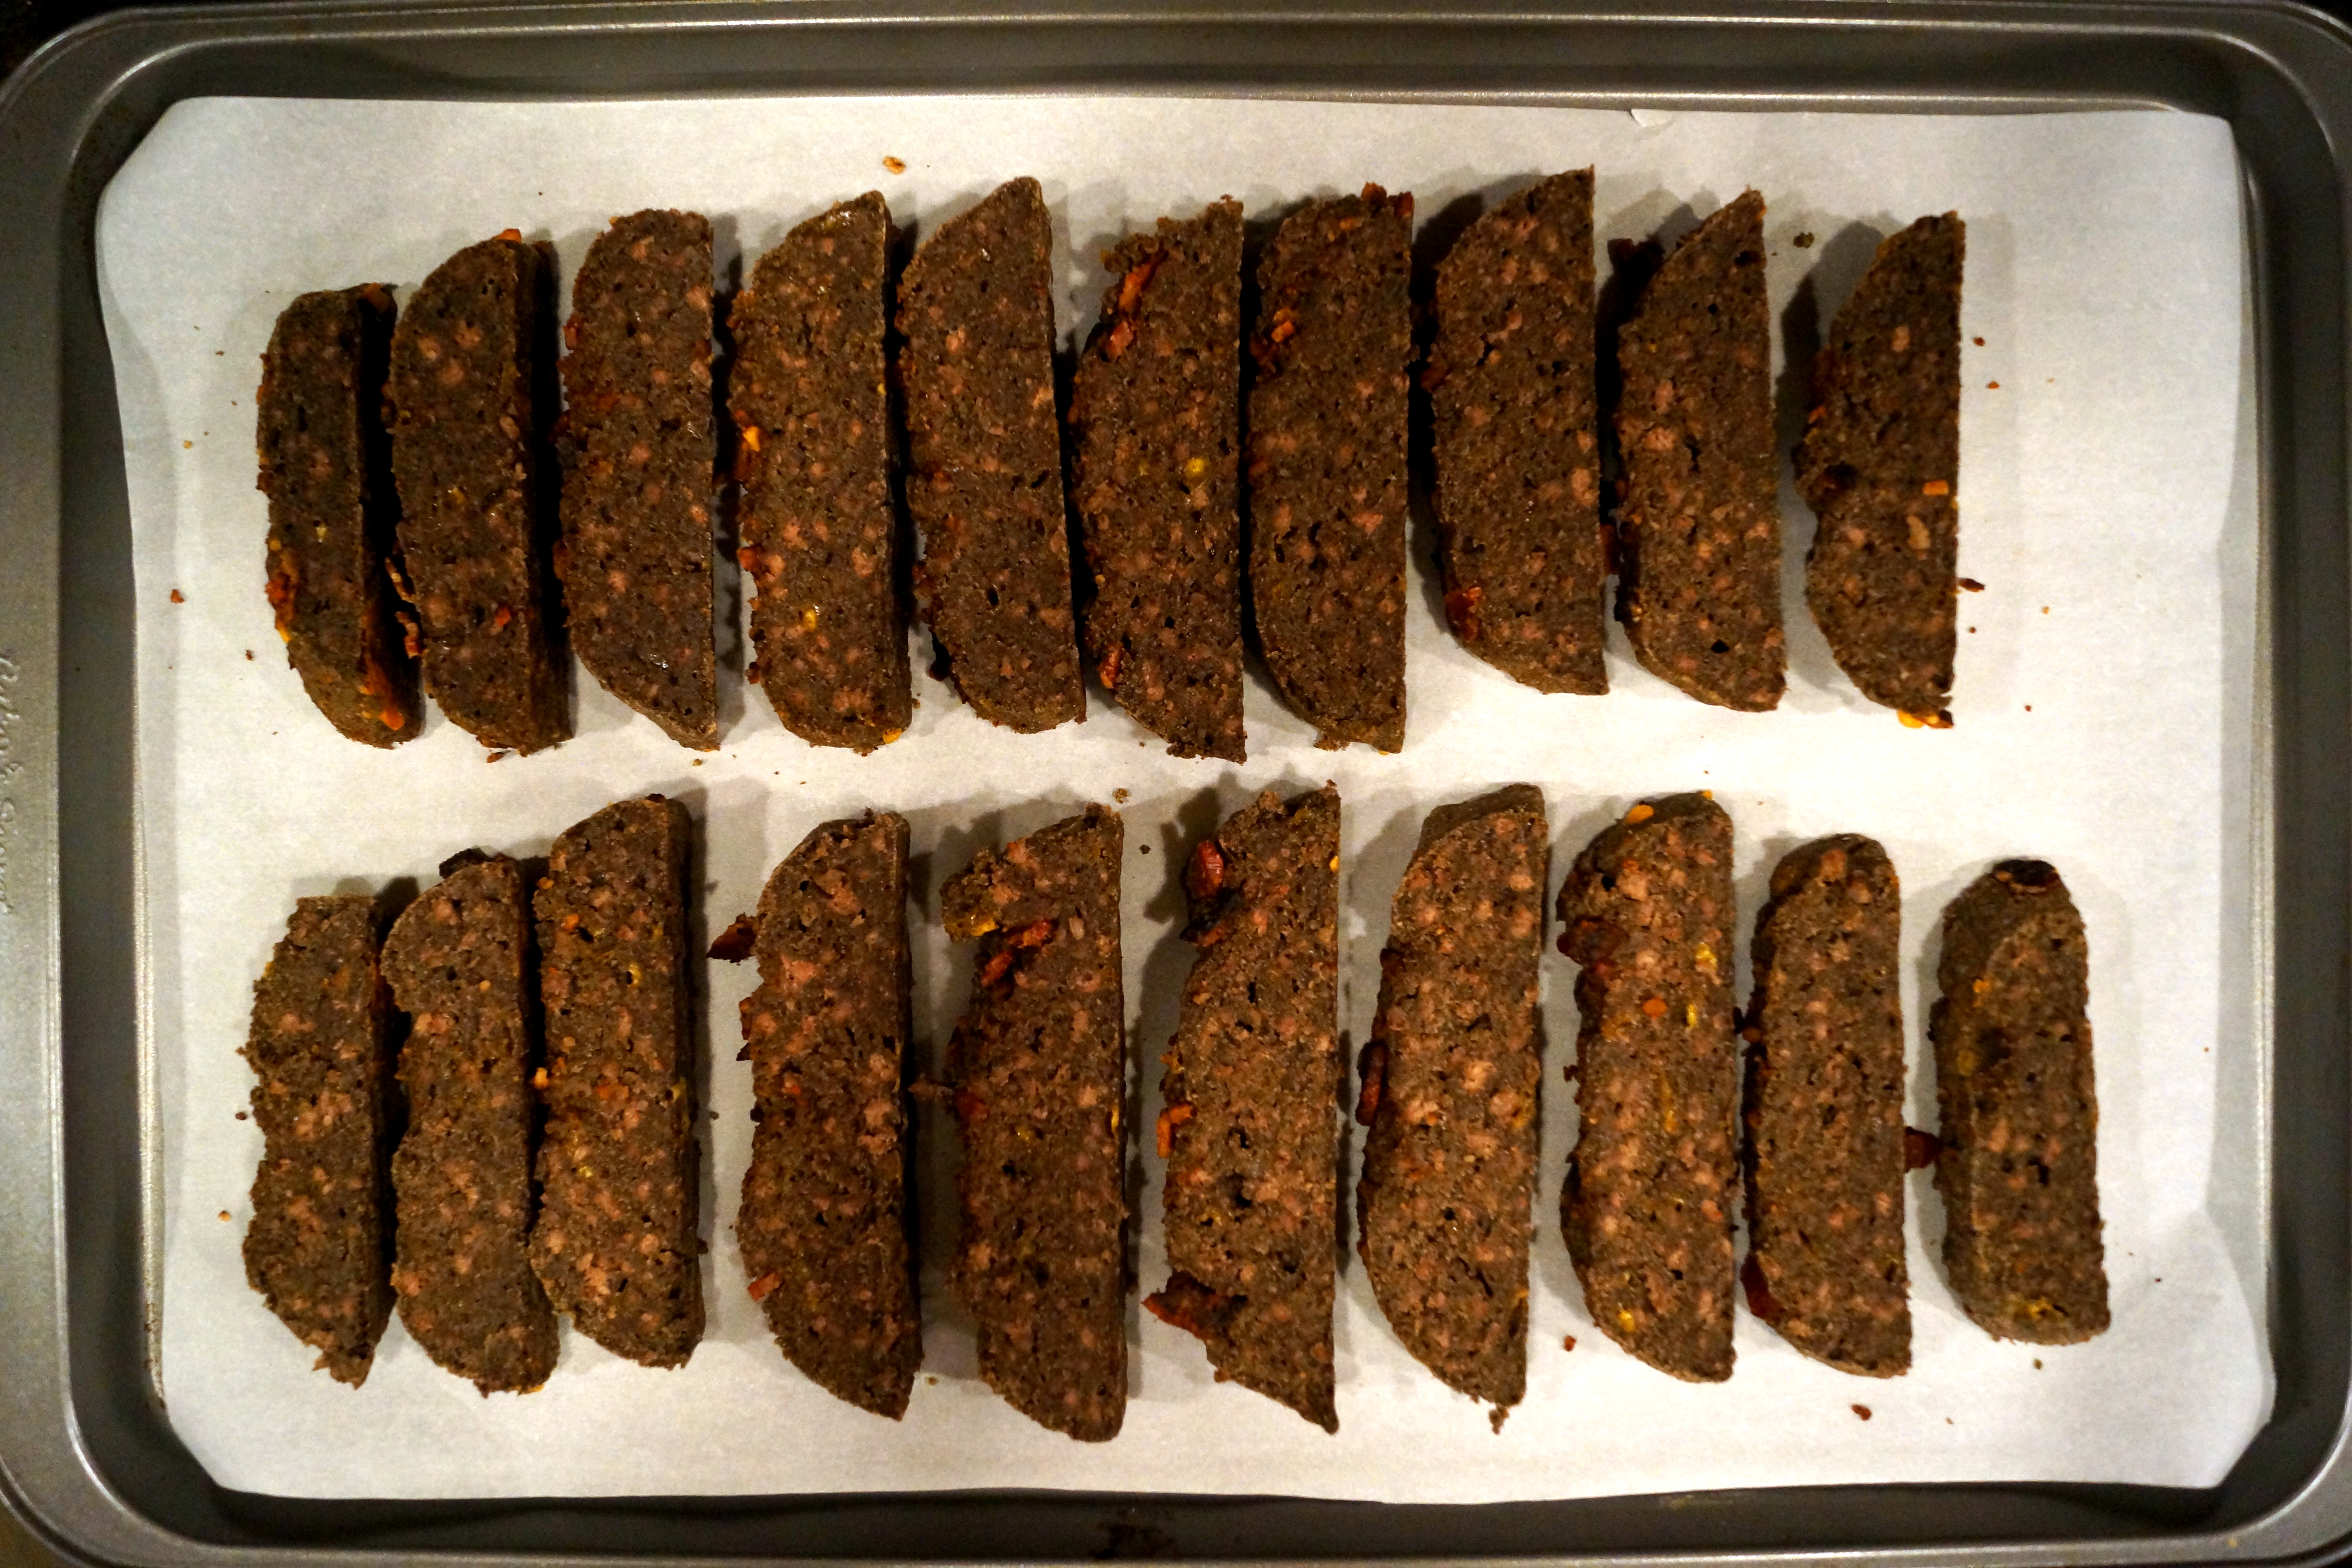
6. Let cool, then cut into bite-size squares
Store in a sealed zip-lock bag or container in the refrigerator. You can also freeze these brownies after you cut them to store them for a longer period of time.
***Some dogs do not do well with milk. We used regular milk, but if your dog does do well with regular milk, you can experiment with almond milk, coconut milk, or goat’s milk.
DIRECTIONS:
1. Preheat oven to 400 degrees F
2. Peel and slice the banana
3. Put the blueberries, banana, honey, and milk into a blender, and blend until smooth
4. Pour blueberry-banana-milk mixture into a medium bowl
5. Add rolled oats and rye flour, and stir until thoroughly combined
6. Pour/drop batter into a greased mini-muffin pan
7. Bake for 16 minutes.
Remove promptly from muffin pan and let muffins cool on a wire rack before serving.
As posted earlier, Cello is on a month-long wheat and chicken free diet to see if we can get her recurring ear infections under control. I recently found out that buckwheat flour is NOT considered a grain and is wheat and gluten free! It was quite interesting to find out that buckwheat is actually closely related to rhubarb! Cello enjoyed the pumpkin biscotti I had made her, so I decided to try another variety biscotti…
INGREDIENTS:
1 pound ground bison (buffalo) (I used Whole Foods Market ground buffalo – their bison meet comes from buffalo who are free range, have no added antibiotics or growth hormones given to them, and have no animal byproducts in their feed)
1/2 cup shredded cheddar cheese (I used 365 Brand – found at Whole Foods Market – produced with no added hormones and made with milk from cows not treated with rBGH)
1 cup organic milk (I used Organic Valley-from cows not treated with rBGH)
1/2 tsp baking powder
2 cups organic buckwheat flour
3 slices of bacon
DIRECTIONS:
Preheat oven to 400 degrees F.
Cook ground buffalo completely, set side.
Cook bacon until very well done, crush to bacon-bit size, set aside.
Combine baking powder and buckwheat flour, and stir until thoroughly mixed.
Add buffalo, cheese, and milk to the dry mixture, and knead with hands until all well combined.
Split dough in half, place onto a parchment paper lined baking sheet, and form 2 meat-loaf shaped loaves, about 1 inch high.
Press bacon pieces into the tops of the two loaves (be sure to firmly press them in or they will fall off while you are slicing the loaves).
Bake for 20 minutes…remove loaves from oven and allow to cool for about 10-15 minutes
Cut both loaves into slices.
Place slices cut-side up onto parchment paper lined baking sheet, and bake for 10-15 minutes, or until the slices are dry and crunchy. Flip slices over, and bake for another 10-15 minutes, or until the slices feel dry and crunchy (SEE NOTE BELOW).
Remove from oven and let slices cool on wire rack.
**NOTE: If your dog prefers softer treats, keep the second baking time around 10 minutes per side. If your dog prefers crunchier biscuits, increase the second baking time to 20-25 minutes per side, depending on how hard you would like the biscotti. You can also let the boscotti cool in the oven once you turn it off for an even harder treat.
YIELD: about 1-2 dozen, depending on how thick you cut your slices.
Store in refrigerator or freezer.
Dough formed into loaves with bacon pressed into top ready for first round of baking:
Loves cut into slices and ready for second bake time
It’s been a little while since I’ve tried a new recipe. With the addition of Hooch to our family, I haven’t had much free time to experiment. This recipe has been on my “must-try” list for quite some time. I was glad I found the time to try it – – Cello LOVES these treats!
Ingredients:
2 1/2 cups organic buckwheat flour
2 cups organic cheddar cheese produced without added hormones, grated
2/3 cup Parmesan cheese, grated
2 organic eggs, lightly beaten
1/4 cup organic extra virgin olive oil
1/2 cup unsweetened organic applesauce
Cheese & Peanut Butter Filling:
8 ounces of cream cheese, fat free
1/2 cup organic all-natural peanut butter, creamy or chunky (so salt added)
NOTE: Be sure that the peanut butter you use doesn’t contain xylitol)
Instructions:
Preheat oven to 400° F
In a large bowl, whisk together the flour, cheddar and Parmesan cheeses.
In a small bowl, whisk the two eggs together.
Stir in the extra virgin olive oil and applesauce.
Make a well in the dry ingredients.
Pour the applesauce mixture into the dry ingredients and stir, using a fork, until a dough forms.
Lightly spray a baking sheet with non-stick cooking spray.
Using a tablespoon sized cookie scooper, pack the cheesy mixture into the scoop.
Place the scoops on the baking sheet close together, as they do not raise in the oven.
Bake for 18 minutes. Leave the dog treats in the oven, once it’s turned off, to cool.
If using the cheese dip to create a cheese sandwich, flatten the rounded cookie and bake for 15 minutes.
Filling Instructions:
In a microwave safe bowl, measure out the cream cheese and peanut butter
Microwave the ingredients at 10 second intervals, and stir after each one, until the mixture comes together easily.
Use a butter knife to spread the filling
Or, scoop the cheese mixture into a zip lock bag and seal. Cut off the tip and squeeze mixture out like a thick frosting.
Storing – This dog biscuit recipe will keep fresh in the refrigerator for up to two weeks. Freeze them for up to 6 months.
ANOTHER snow day here in Southern NJ… perfect day for baking dog treats!
Cello waits and watches patiently as these yummy-smelling Valentines Day treats bake in Cello’s Cucina!
Peanut Butter-Honey Hearts
Ingredients:
2 cups organic buckwheat flour
1 1/2 cups organic almond flour
1/3 cup organic, natural peanut butter (no salt or sugar added)
Be sure that the peanut butter you use doesn’t contain xylitol)
1 TB organic honey
1 1/4 cups hot water
Additional flour for rolling (or parchment paper)
Directions
Preheat oven to 350° F
Mix dry ingredients together.
Mix in the peanut butter, honey, and hot water.
Knead the dough well.
Roll out the dough into 1/4″ thickness and cut into shapes with dog cookie cutters.
Bake on a lightly greased cookie sheet for 40 minutes. Turn off the oven and let them cool overnight. (I just took mine out at 40 minutes and cooled them on a wire rack – see notes below).
If your dog likes less-crunchy treats, you cool them completely on a wire rack, then serve them to your four-legged child!
These treats come out pretty crunchy even if you don’t keep them in the oven over night…so if your pup prefers softer treats, you can try reducing the cook-time, and cooling the treats on a wire rack.
Yield: Will depend on the size cookie cutter you use.
Storing:These tasty treats can be stored in the refrigerator for 3 weeks or n the freezer for up to 6 months.
Tips: The dough for these treats can be pretty sticky to work with at first, especially while kneading. You can dust your work place and rolling-pin with some extra buckwheat flour, or (my favorite) you can line your work place with parchment paper, then place another piece of parchment paper over the dough while rolling it out. Also, keep a dish of extra buckwheat flour next to you and “dip” the cookie cutter in the flour each time before making the cut-outs.
3 cups organic garbanzo bean flour (plus more – see note)
1/2 cup nonfat powdered milk
1/2 tsp baking powder
1 cup organic beef stock/broth, chicken stock, or vegetable stock (see note)
2 large organic, free range eggs
2 tsp red, all natural food coloring (see tips)
1/2 tsp peppermint extract
1 large organic, free range egg, whites only (for an egg wash)
INSTRUCTIONS:
Whisk together the flour, powdered milk and baking powder.
Pour beef stock in small bowl, and whisk the eggs into stock.
Form a well in the dry ingredients, pour in the wet ingredients.
Stir until thoroughly combined.
Knead the dough for about two minutes.
Add more flour until the dough is no longer sticky (dough will be VERY sticky and hard to work with. Keep adding flour until dough is reasonable to work with.
Divide the dough in half.
Form a well in one of the halves of dough.
Add the food coloring and peppermint flavoring to the one half of dough.
Wearing food safe gloves, knead the coloring and flavoring throughout the dough.
Cool the dough in the freezer for 30 minutes.
Preheat the oven to 350° F
Scoop a tablespoon of each half of dough into tablespoon-sized balls.
Gently roll each ball into a “worm” shape, letting the dough rest when needed. Each strip should be about 5 inches long.
Spray a baking sheet with nonstick cooking spray.
Twist one plain strip with a red strip, and curl the end to shape a candy cane.
Place on the baking sheet.
Whisk the extra egg (whites only) in a small bowl.
Using a pastry brush, thoroughly coat each candy cane with the egg wash.
Bake for 10-15 minutes. (let cool in oven for crunchier treat)
Cool completely on a wire rack.
NOTES:
Garbanzo bean flour: Although a great alternative to grain-based flour, this flour is SUPER sticky and can be difficult to work with. Keep adding flour until dough is at a consistency you are comfortable working with. Allowing the dough to cool in freezer will help with handling this sticky dough.
Broth/Stock: No matter which stock you choose (Chicken, Beef, or Vegetable), be sure to check that it does NOT contain any form of onion, or onion powder
Food Coloring: rather than use artificial coloring, I chose an all-natural vegetable base coloring made from beet juice (India Tree brand vegetable colorants). Beet powder is also another great alternative to artificial coloring.
Yield: will depend on how long/thick you make each “worm” when you are twisting the candy canes. My batch made 15 candy canes.
Storing: Remember, these treats do not have any preservatives, so they will need to be refrigerated, or frozen for use at a later time. These canine candy canes will keep fresh for approximately two weeks in the refrigerator, or for about 6 months in the freezer.
Cello has had recurring ear infections lately. It was suggested to us to try her on a grain-free diet for 30 days to see if her ear problem ceases. Her dog food is of very high quality, and is already grain free. However, all of the treats I was making her had whole-wheat flour as an ingredient …so – this is the first grain-free treat to be made in Cello’s Cucina!
We are going to go camping for Thanksgiving, so I decided to make these treats to bring on the trip for Cello… I chose Fall cookie cutters…a turkey, 2 different shaped leaves, an acorn, and a Squirrel (Cello’s favorite!)
Fall cookie cutters
Cello is licking her lips waiting for her treats to be done!
INGREDIENTS:
2 1/2 to 3 c. of organic garbanzo bean flour (SEE NOTE)
2 1/2 Tbsp of creamy organic peanut butter (unsweetened and no salt)
Be sure that the peanut butter you use doesn’t contain xylitol)
2 Tbsp pure natural organic honey
3/4 c. organic canned pumpkin (PURE pumpkin – NOT pumpkin pie filling)
DIRECTIONS:
1. preheat oven to 300 degrees F
2. In a medium bowl, mix all ingredients until completely combined
3. The dough will be very sticky – so generously flour everything – including your hands. Roll the dough out to about 1/4-inch thickness.
Use cookie cutters of your choice to cut out the cookies.
4. Place cookies on a parchment paper-lined cookie tray, and bake the cookies for 30 minutes, or until golden brown. The cookies will
come out a pretty pumpkiny-brown! Let cool on a wire rack for soft treats, or turn oven off and let treats sit in oven for 1-2 hours or more if you want crunchier treats. I baked mine at night, so I just shut the oven off and left treats to cool overnight. In the morning I put some in the refrigerator, and some in the freezer to take on our camping trip.
Cookies can be stored in an air tight container in refrigerator for approximately 2 weeks – or in the freezer if you would like them to last a bit longer, or if you wanted to save them for a later date.
NOTE: have lots of extra garbanzo bean flour – the dough is REALLY sticky…so you will need to add flour to the dough, the cookie cutters, the roller, and the work surface (I used a glass cutting board – which worked the best with this sticky dough)
Made with healthy real pumpkin, these biscotti are yummy!
INGREDIENTS:
1 c. organic pure pumpkin (not pie filling)
1/4 c. organic honey
1/4 c. water
1/8 c. organic canola oil
1 organic egg, beaten
1 tsp pure vanilla extract
4 c. organic whole wheat flour (substitute buckwheat flour for grain-free option)
2 tsp organic ground cinnamon
**egg whites (SEE NOTE BELOW)
DIRECTIONS:
1. Preheat oven to 350 degrees F
2. In a large bowl, stir the pumpkin, honey, water, oil, egg, and vanilla
3. In a separate bowl, whisk together the flour and cinnamon
4. Using a mixer, slowly combine the dry ingredients with the wet ingredients, a little at a time
5. Knead the dough with your hand in the bowl until the dough forms a ball, and divide in to two equal parts
6. On a cookie tray sprayed with non-stick cooking spray, form each ball of dough in to a slightly rounded rectangle, about one
inch thick
7. Place loaves about 2 inches apart, and back for 35 minutes
10. Leave loaves on cookie tray, and place tray on a wire rack to let cool for 30 minutes. At the same time, LOWER the oven
temperature to 300 degrees F
11. Place the loaves on a cutting board, and slice into 1/2 inch slices
12. Place the slices, cut side down, back onto the cookie sheet
13. bake for 20 minutes. Turn slices over, and bake for an additional 20 minutes, or until hard and crunchy
14. Let the biscotti cool on a wire rack until cooled completely.
Yield: Depending on how thick you cut the slices, you should yield about a dozen biscotti from each loaf.
Note: (OPTIONAL): using a pastry brush, apply an egg white-wash to loaves before baking the first time. This step will not change the taste of the biscotti, but it will take away any trace of flour, and give the biscotti a slight “shine.”